Introduction: Importance of a Proper Oven Door Seal and Common Issues in Phoenix Climate
In the heart of Arizona, where the desert sun reigns supreme, maintaining home appliances can present unique challenges. Among these, ensuring your oven door seal is in top condition is crucial. A proper oven door seal not only ensures efficient cooking by retaining heat but also helps in reducing energy consumption—a vital consideration given the relentless heat and energy demands of Phoenix. The climate here can exacerbate wear and tear, leading to common issues such as the seal drying out or cracking due to high ambient temperatures and low humidity.
Identifying Signs of a Damaged or Worn Oven Door Seal
Recognizing the signs of a compromised oven door seal is the first step toward rectifying any inefficiencies. Key indicators include visible cracks or brittleness in the seal, uneven cooking results due to escaping heat, increased energy bills, or even feeling warm air seeping from the door edges when the oven is in use. In Phoenix, these signs might be more pronounced due to the additional stress placed on appliances by the environment.
Tools and Materials Needed for Repairing the Oven Door Seal
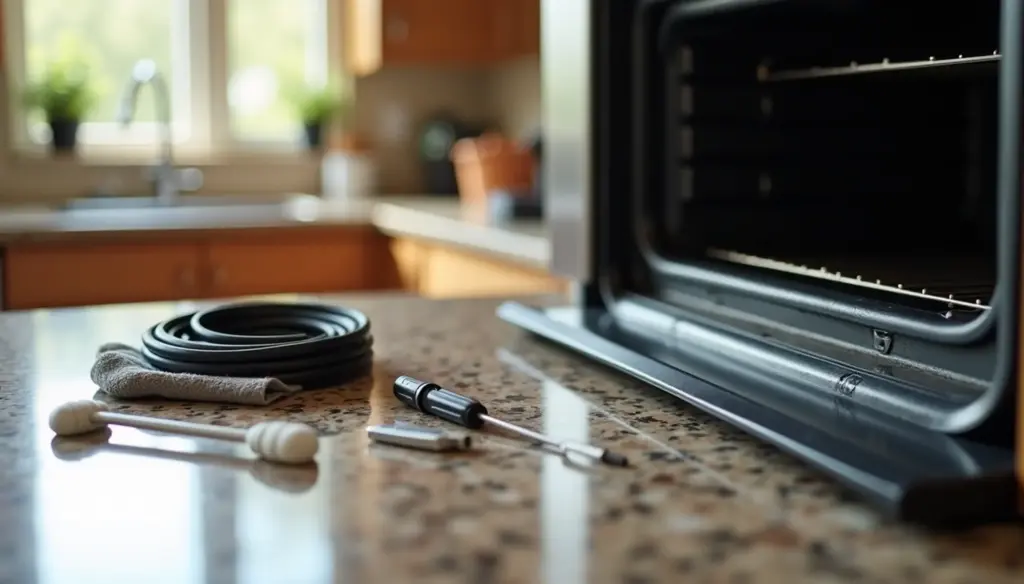
Before embarking on this repair journey, gathering the necessary tools and materials will ensure a smooth process. You will need:
- A replacement oven door seal (specific to your oven model)
- A Phillips head screwdriver
- Needle-nose pliers
- Mild soapy water or vinegar for cleaning
- A soft cloth or sponge
Having these items on hand will make your task efficient and straightforward.
Step-by-Step Guide to Removing the Old Seal and Installing a New One
- Safety First: Ensure that your oven is turned off and completely cool before starting any repairs.
- Remove Old Seal: Open your oven door fully. Using a Phillips head screwdriver, remove any screws that may be holding the old seal in place. Gently pull out the old seal, using needle-nose pliers if it’s stubbornly attached.
- Clean Surface: With mild soapy water or vinegar, thoroughly clean the area where the old seal was situated to remove any debris or grime that could affect adherence.
- Install New Seal: Align your new seal with the track or groove where you removed the old one. Starting at one end, gently press it into place around the perimeter of the door opening. Ensure it fits snugly without gaps.
- Secure Seal: If there were screws holding it initially, reattach them now to secure your new seal firmly.
- Test: Close your oven door carefully to ensure there are no obstructions and that it seals properly against heat escape.
Tips for Maintaining the Oven Door Seal to Prevent Future Heat Leaks
To prolong the life of your new oven door seal, regular maintenance is key—especially under Phoenix’s harsh conditions:
- Periodically inspect for early signs of wear.
- Clean regularly to prevent buildup of grease or food particles, which can degrade materials.
- Avoid slamming your oven door shut, as this can misalign or damage seals.
By adopting these practices, you can enhance efficiency and extend your appliance’s lifespan while keeping those Arizona electric bills at bay!
Repairing an oven door seal might seem like a minor fix but plays an essential role in household efficiency—particularly in environments as demanding as Phoenix’s. Taking proactive steps ensures you maintain energy efficiency while enjoying consistent culinary creations!