A refrigerator that “won’t stay cold” is not always a compressor problem. In many Phoenix homes, the real culprit is simpler: a worn door gasket (the rubber seal around the door). When that seal fails, hot, dry air and dust get pulled into the fridge, moisture turns into frost, and your unit runs longer than it should.
Refrigerator door seal repair is one of the highest impact fixes you can make for temperature stability, energy use, and food safety, and in many cases it’s a DIY-friendly job.
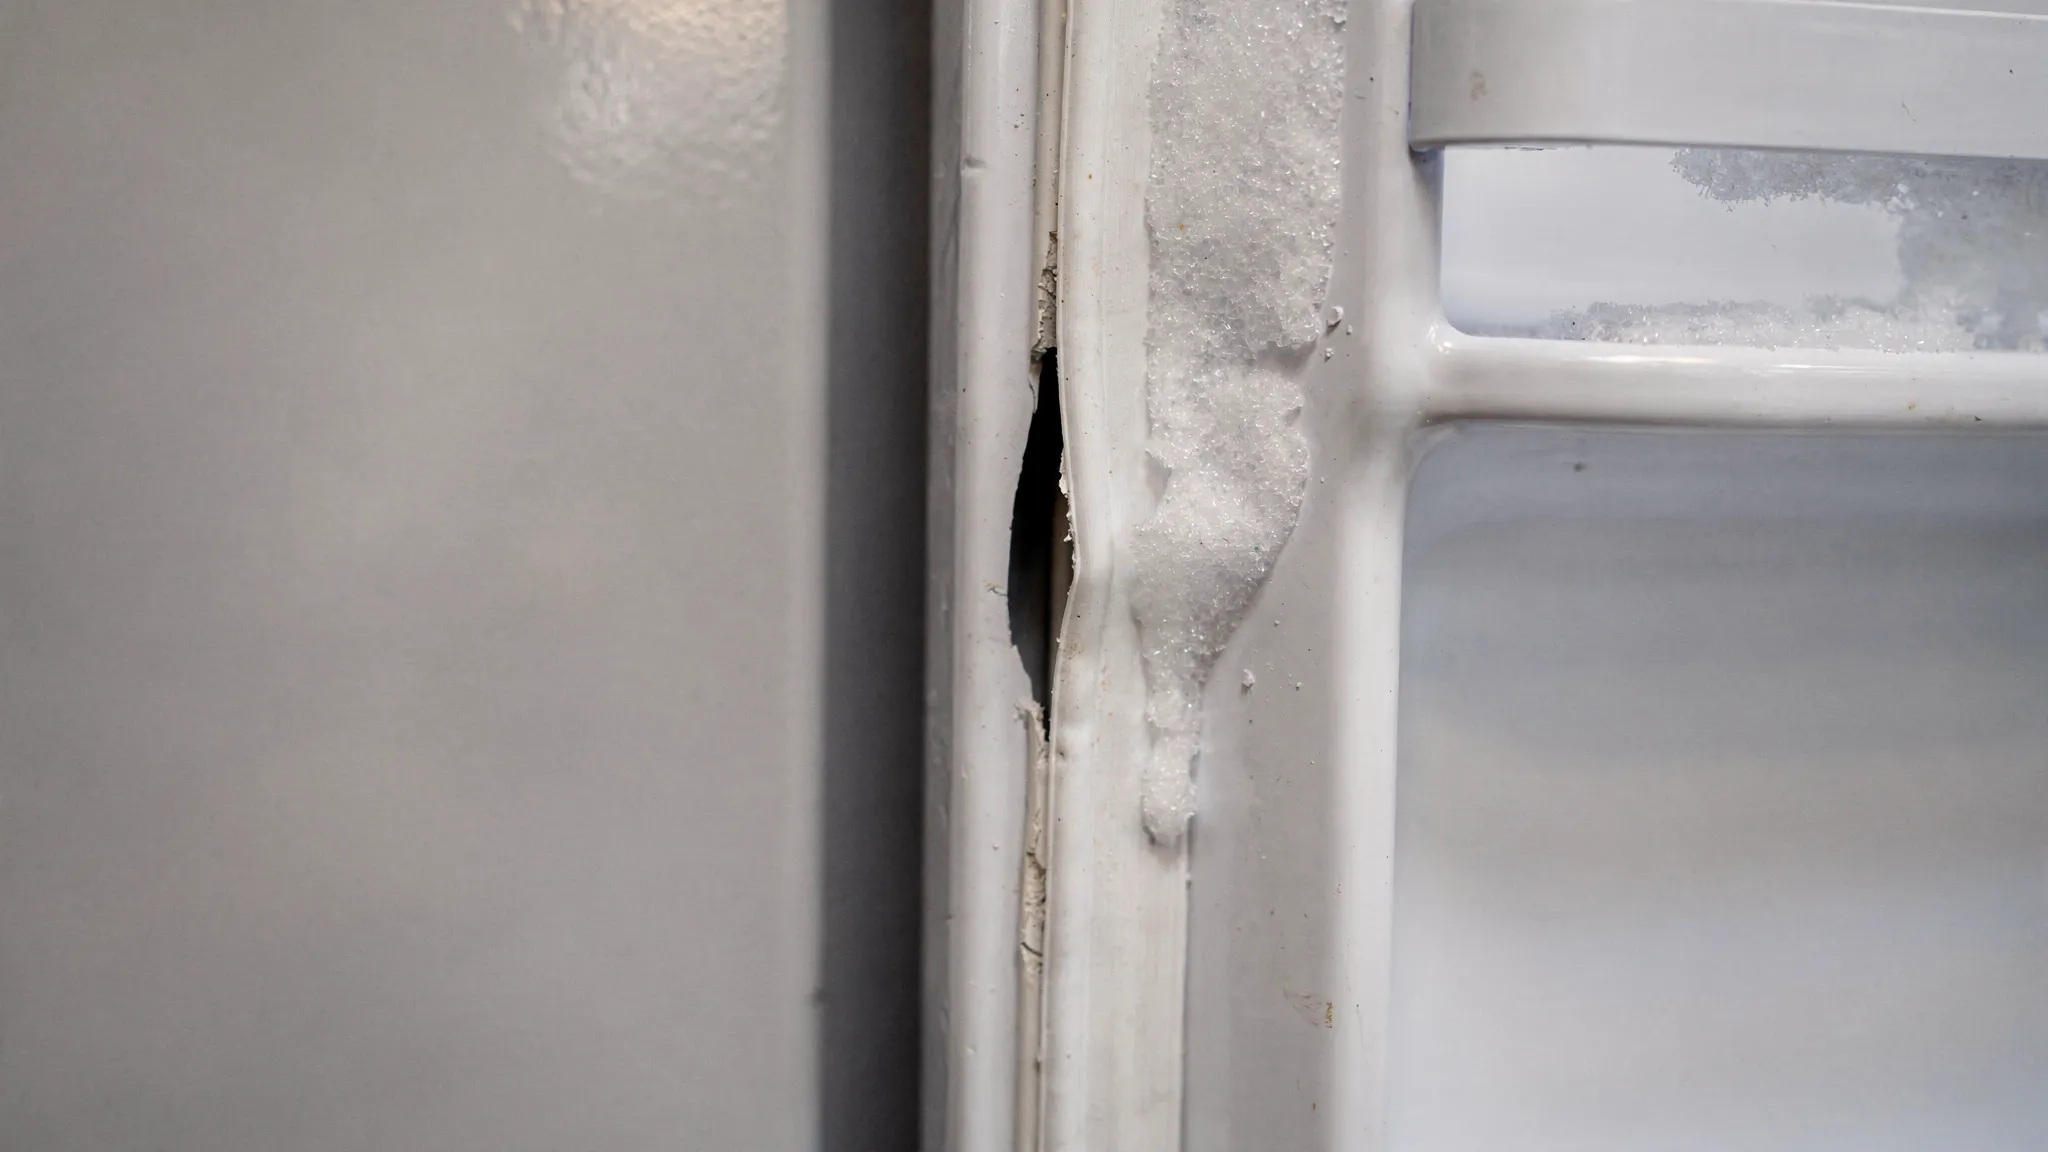
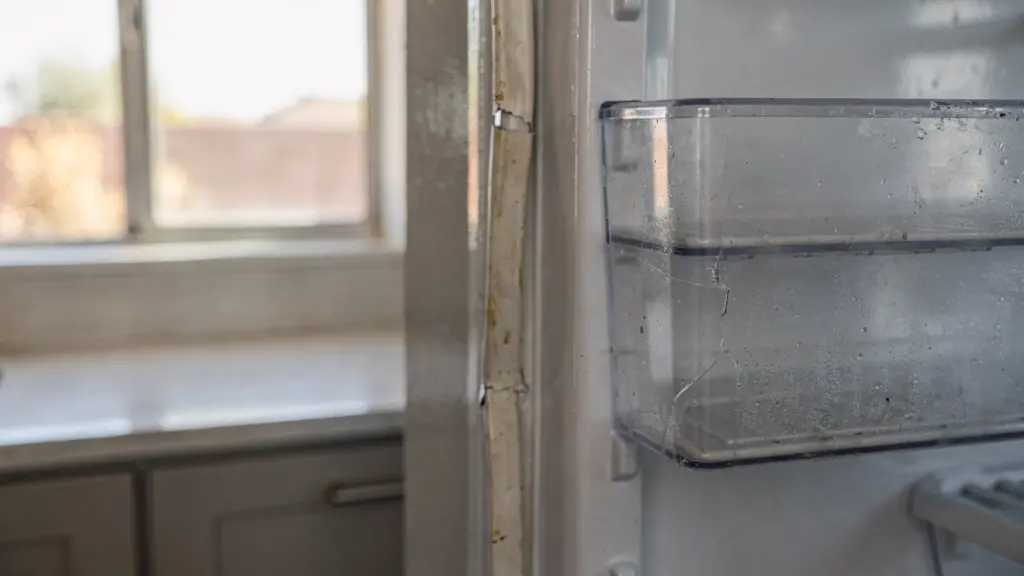
What a bad refrigerator door seal looks like (and why it causes frost)
Your refrigerator removes heat from inside the cabinet, then dumps that heat into the room. If the door gasket is leaking, the fridge constantly pulls in warmer air from your kitchen. That creates three common problems:
- Temperature swings: The fridge has to work harder to hold 37 to 40°F and the freezer has to fight to stay near 0°F.
- Moisture turns into frost: Warm air carries moisture. When it enters the freezer, that moisture condenses and freezes on surfaces.
- Longer run times and higher wear: More runtime can shorten the life of parts like the evaporator fan, defrost components, and compressor.
Phoenix-specific note: our heat pushes kitchen temps higher for much of the year, and door gaskets can dry out, harden, and flatten faster than in milder climates, especially if the fridge sits in a garage.
Fast ways to confirm the door seal is leaking
Before you order parts, verify the gasket is actually the issue. These checks take minutes.
The “dollar-bill test”
Close the door on a dollar bill (or a strip of paper) so half is inside and half is outside. Gently pull.
- Good seal: noticeable resistance.
- Likely leak: paper slides out easily.
Test multiple spots: top corners, bottom corners, and the hinge side.

Visual and touch inspection (what to look for)
Run your fingers along the gasket. Look for:
- Cracks, tears, missing chunks
- Flattened areas that no longer “bulb” outward
- Warping or sections pulling out of the channel
- Sticky residue, grime, or mold that prevents full contact
Condensation and “mystery frost” clues
A gasket leak often shows up as:
- Condensation on the gasket or cabinet edge
- Frost concentrated near the door opening (instead of deep on the back wall)
- Ice buildup that returns quickly after you defrost
Common causes (and when it is not the gasket)
A gasket can fail on its own, but it’s often helped along by other issues. Fixing those prevents repeat problems.
Common reasons gaskets stop sealing
- Dirty gasket folds: Grease, syrup, pet hair, and dust keep the gasket from seating.
- Door sag or misalignment: Loose hinges or a heavy door (common with in-door ice/water) can create a gap at the top corner.
- Unit not level: If the fridge leans forward, the door may not self-close firmly.
- Heat exposure: Direct sun through a window or a hot garage accelerates rubber aging.
Problems that can mimic a bad gasket
If you replace the gasket and still have frost or warm temps, you may be dealing with:
- Defrost system faults (heater, thermostat, control board): typically causes heavy frost on the evaporator behind the freezer panel.
- Evaporator fan issues: weak airflow, warm fridge section.
- Blocked vents or overpacked freezer: poor circulation.
If your freezer panel is icing over solid, or the fridge is warming even with a good seal, it may be time to compare repair options using our local guide: Refrigerator Repair Cost in Phoenix – Real Prices from Local Experts.
Try these no-parts fixes first (often enough for minor leaks)
If the gasket is intact (no tears), you may be able to restore a decent seal.
1) Clean the gasket properly
Use warm water with a small amount of mild dish soap and a soft cloth. Get into the folds.
- Avoid abrasive pads that can shred rubber.
- Rinse and dry thoroughly.
If you see mildew, use a gentle cleaner that is safe for appliance surfaces and follow label directions. (Good ventilation matters, especially in enclosed kitchens.)
2) Check door alignment and closing force
- Tighten hinge screws: If the door looks slightly low on the handle side, a loose hinge can be the whole problem.
- Level the refrigerator: Many manufacturers recommend a slight backward tilt so doors swing shut more easily. Use the front leveling feet.
- Clear obstructions: Bins or tall containers can prevent full closure.
3) Re-shape a warped gasket (carefully)
Some gaskets develop waves or gaps after years of use or after being cleaned aggressively.
A common approach is gentle warming (for example, with a hair dryer on low) to help the gasket relax back into shape. Keep heat moving and avoid overheating one spot, since excessive heat can permanently deform rubber or damage plastic liners.
If the gasket is torn, brittle, or permanently flattened, cleaning and reshaping won’t last. Replacement is the real fix.
Refrigerator door seal replacement: step-by-step (DIY)
The exact process depends on how your gasket is mounted. Most fall into three categories:
- Push-in (dart) gasket: presses into a channel.
- Retainer/screw-mounted gasket: held by screws under the inner door liner.
- Adhesive-mounted gasket: less common on modern units.
If your refrigerator is under warranty, consider calling the manufacturer first. DIY work can affect coverage.
Step 1: Get the right gasket for your exact model
Use the model number from the inside wall of the fridge compartment (or door frame). Then buy the gasket that matches that model, color, and door type (top-freezer, side-by-side, French door).
Tip: Many ordering mistakes happen with French-door units because the left and right fresh-food gaskets can differ.
Step 2: Unplug and prep the area
- Unplug the refrigerator (recommended for safety).
- Remove items from the door bins to reduce weight.
- Lay towels down to catch drips and grime.
Step 3: Remove the old gasket
Choose the method that matches your mount style:
- Push-in: pull one corner out and work around the perimeter.
- Screw-mounted: gently lift the inner lip of the gasket to expose screws, loosen them gradually, then peel the gasket free.
- Adhesive-mounted: carefully peel away, then remove residue (slowly, to avoid damaging the liner).
Go slow at corners to avoid cracking plastic.
Step 4: Clean the sealing surface and channel
This step matters as much as the gasket.
- Wipe the channel and door flange until it is smooth and dry.
- Remove hardened residue that would create bumps.
In Phoenix, fine dust can build up in the channel and prevent a tight fit, so take extra time here.
Step 5: Install the new gasket and set the corners
- Start at the top corners and work down.
- Make sure the gasket “bulb” faces the correct direction (outward toward the cabinet).
- If screw-mounted, snug screws evenly (do not over-tighten).
Many new gaskets arrive folded. Let it sit at room temperature so it relaxes, and use gentle warming only if needed to smooth wrinkles.
Step 6: Test the seal and adjust
- Repeat the dollar-bill test around the perimeter.
- Close the door and look for any spots where the gasket doesn’t touch the cabinet.
- Confirm the door self-closes from a small open angle.
If there’s a persistent gap at the top corner, you may need hinge adjustment, leveling, or (in rare cases) a door that has twisted over time.
What “good” looks like after a gasket repair
A successful refrigerator door seal repair typically results in:
- Less condensation around the door
- Reduced frost near the front of the freezer
- More stable temperatures and shorter run cycles
For a helpful baseline, the FDA recommends keeping refrigerators at 40°F or below and freezers at 0°F to slow bacterial growth and keep food safe. See FDA cold food safety guidance for more context.
When to call a pro in Phoenix (and when it is urgent)
A gasket replacement is straightforward for many homeowners, but certain situations justify professional help.
Call a technician if:
- The door is sagging or rubbing, suggesting hinge or alignment issues
- You have a built-in unit or a high-end model where liner damage is costly
- The freezer has heavy frost behind the back panel (possible defrost failure)
- Temps are unsafe (above 40°F in the fridge) and food is at risk
When it might be an emergency
If you notice rapid warming, thawing in the freezer, or the refrigerator is running nonstop in extreme heat, it can become a same-day situation, especially in Phoenix summers. In those cases, look for emergency appliance repair Phoenix options or same day refrigerator repair Phoenix availability to prevent food loss and further component wear.
To decide whether to repair now or replace soon, this local perspective can help: Is It Worth Repairing a Refrigerator in Phoenix’s Heat?.
Cost expectations: gasket vs “bigger” refrigerator repairs
Door gaskets are usually among the more affordable refrigerator parts, but total cost depends on your model and whether the issue is only the gasket.
Here’s a practical way to think about it:
| Symptom | Most likely issue | DIY potential | Common next step if not fixed |
|---|---|---|---|
| Small gap, dirty folds, mild condensation | Dirty or mis-seated gasket | High | Deep cleaning, leveling, hinge tightening |
| Tear, brittle rubber, permanent flattening | Worn gasket | Medium to high | Replace gasket, then re-test seal |
| Frost returns fast after defrost, mostly deep inside | Defrost/airflow problem | Low to medium | Pro diagnosis (defrost heater, fan, controls) |
| Door won’t align, gap at one corner consistently | Hinge/door alignment | Medium | Hinge repair, leveling, possibly door hardware |
For Phoenix pricing context across many refrigerator issues, start here: refrigerator repair cost Phoenix.
Tips to make your new seal last longer (especially in Phoenix)
A gasket can last years, but these habits make a noticeable difference:
- Wipe the gasket monthly with mild soap and water, then dry.
- Avoid yanking the door open if it is “vacuum-stuck.” Wait a few seconds and try again to reduce stress on the gasket.
- Keep the fridge slightly back-tilted (per manufacturer guidance) so doors close firmly.
- Limit garage use in peak heat when possible. If your fridge must live in the garage, ensure ventilation around the unit and check seals more often.
For additional efficiency guidance, the U.S. Department of Energy’s refrigerator and freezer energy tips are a solid reference.
The bottom line
Refrigerator door seal repair is one of the best first moves when you see frost near the door, condensation, or a fridge that seems to run all day. Start with cleaning and alignment checks, confirm the leak with a simple pull test, then replace the gasket if the rubber is torn, hardened, or permanently flattened.
If temperatures are drifting into the unsafe zone or frost keeps returning after you address the seal, the issue may be deeper than the gasket, and getting a Phoenix technician involved quickly can prevent food loss and more expensive failures.