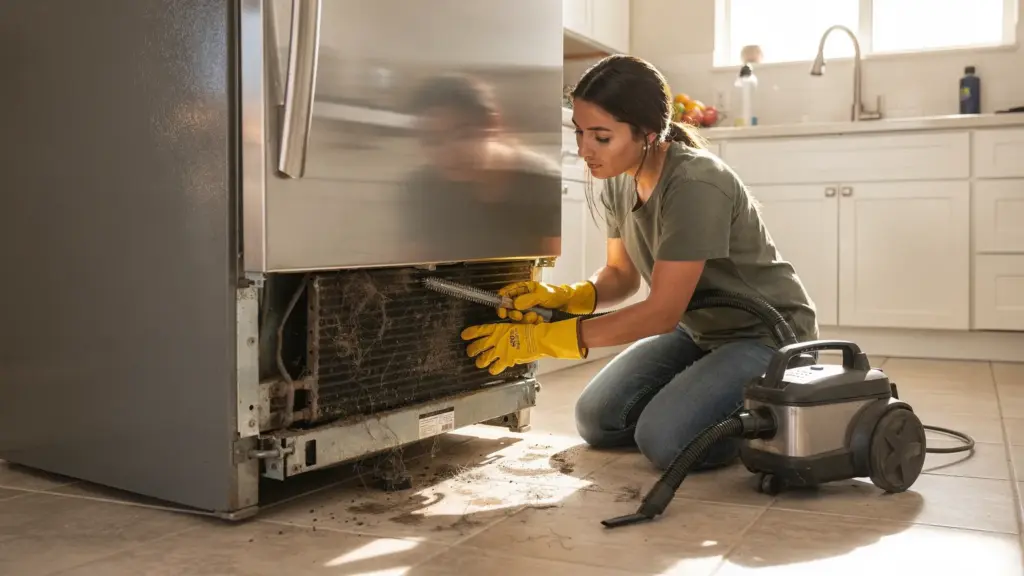
A refrigerator that “sort of” cools can be more than annoying in Phoenix, it can turn into spoiled food fast. One of the most overlooked causes is also one of the easiest to fix: dirty condenser coils. When coils are packed with dust, pet hair, or garage grit, your fridge struggles to dump heat, so it runs longer, cools worse, and puts extra stress on the compressor.
Below is a practical refrigerator servicing guide focused on coil cleaning, plus a few quick checks that help you get the most cooling performance after you’ve cleaned.
Why cleaning condenser coils improves cooling
Your refrigerator moves heat out of the food compartments and releases that heat through the condenser coils (and a condenser fan on many models). When airflow across those coils is restricted, the system can’t shed heat efficiently.
Common results of dirty coils include:
- The fridge runs almost constantly.
- Temperatures creep up, especially in the fresh food section.
- The cabinet feels unusually warm on the sides.
- The compressor area is hot and noisy.
In Phoenix homes, coils can clog faster because of fine desert dust, pet hair, and, for garage refrigerators, higher ambient temperatures. Cleaning coils will not fix every cooling problem, but it is a high-impact maintenance step that supports both performance and longevity.
For general efficiency guidance, ENERGY STAR includes coil cleaning as a recommended refrigerator care step (along with proper temperature settings and good airflow around the unit): ENERGY STAR refrigerator tips.
Where your refrigerator coils are located (and why it matters)
There are two common setups:
- Rear coils (older and some mid-range models): A radiator-like grid on the back of the refrigerator.
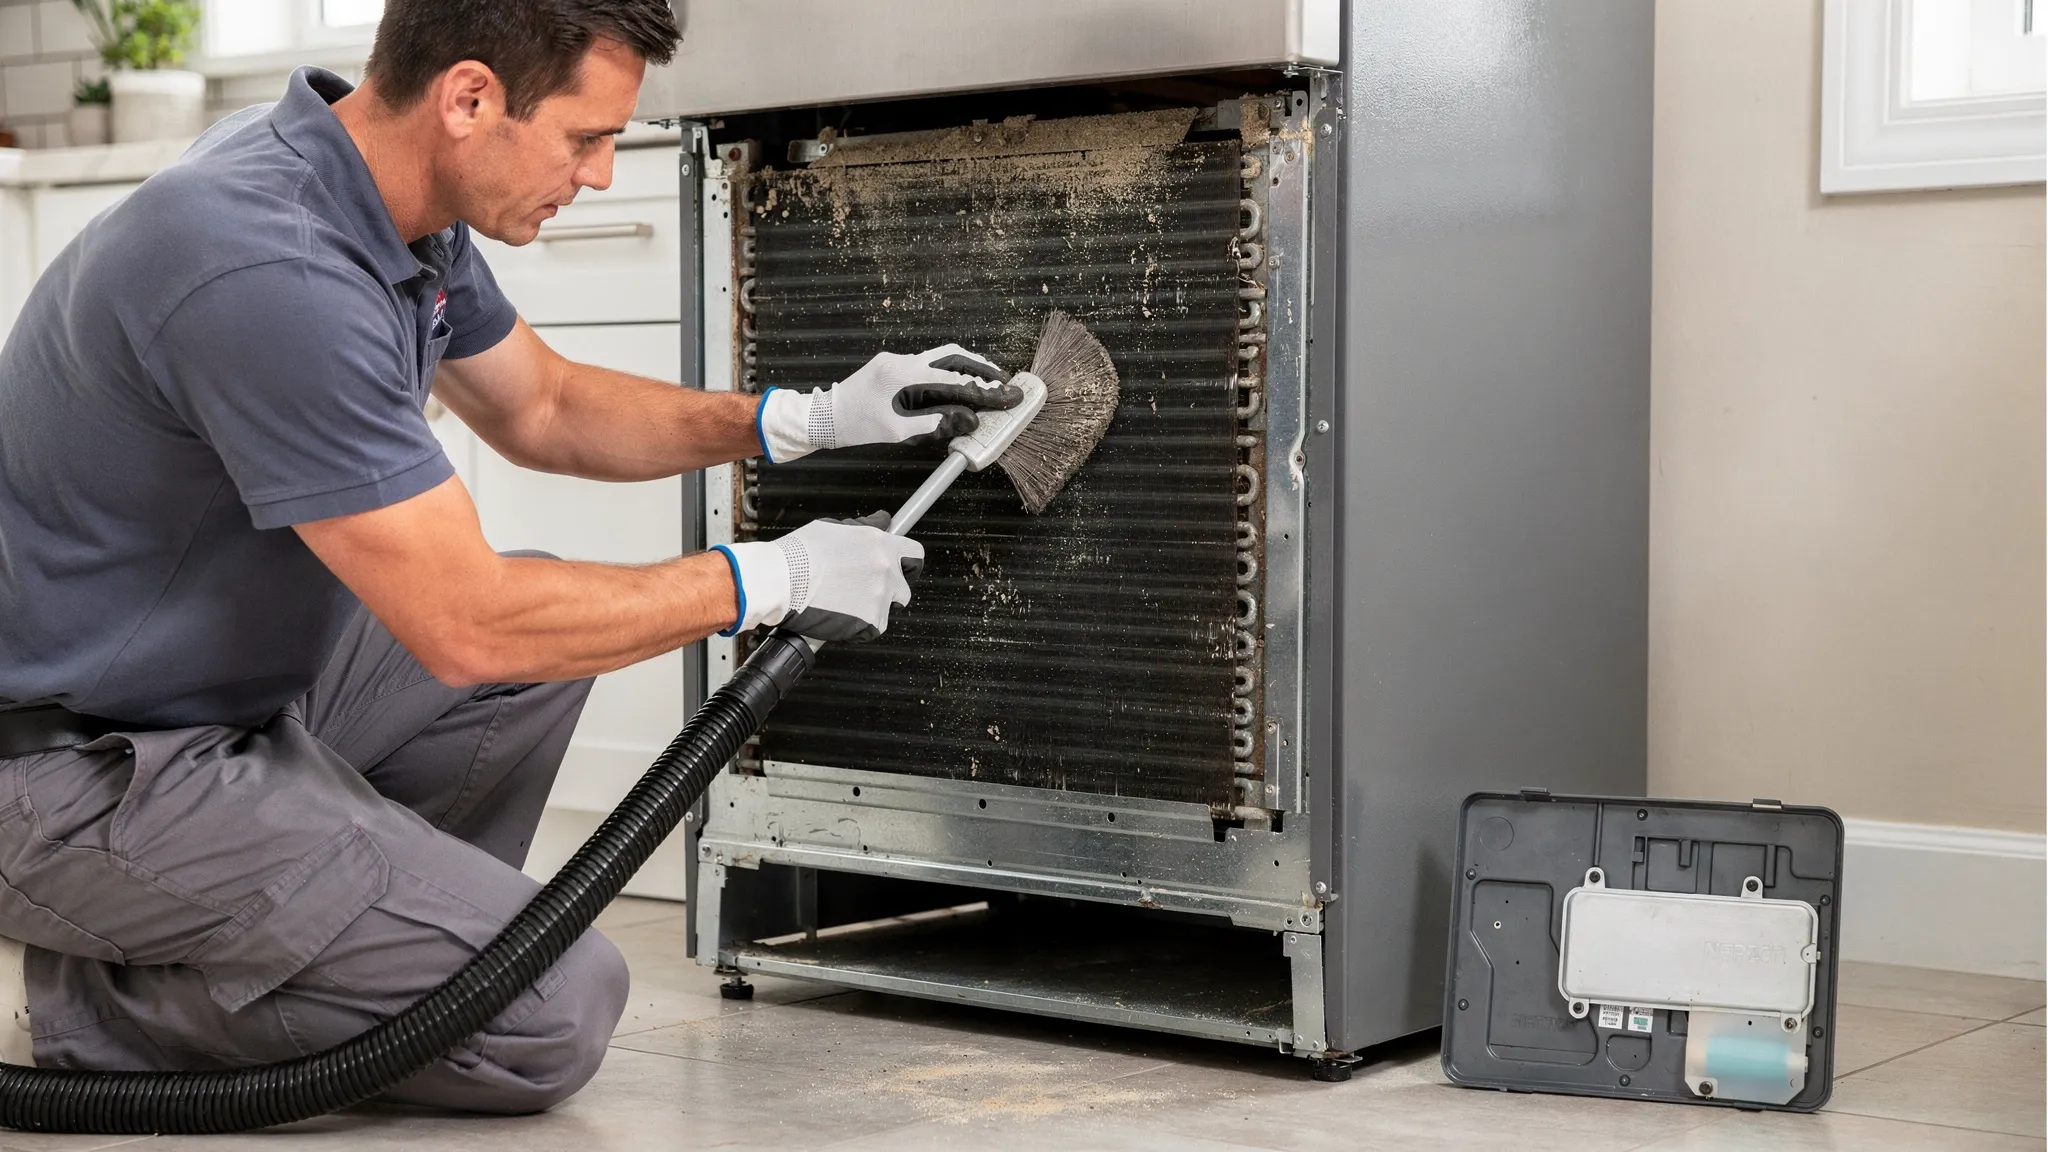
- Bottom coils (many newer models): Coils are underneath, usually behind a front toe-kick grille. Many units also have a bottom rear access cover for the compressor and fan area.
If you are not sure which you have, look for a removable grille at the bottom front, or check your owner’s manual.
Safety first: what to do before you touch anything
Refrigerator servicing is usually straightforward, but take it seriously. You are working around moving fan blades, sharp metal edges, and electrical components.
Before cleaning:
- Unplug the refrigerator (do not rely on “off” settings).
- If the plug is hard to reach, switch off the breaker only if you are confident you’ve identified the correct circuit.
- Wear work gloves (sheet metal edges can cut).
- Avoid pulling on water lines if you have an ice maker.
If you smell burning, see damaged wiring, or hear loud clicking and repeated start attempts, skip DIY cleaning and consider professional appliance repair in Phoenix.
Tools you need (and what to avoid)
You do not need special chemicals. Most coil cleaning is dry debris removal.
Recommended:
- Vacuum with a hose attachment
- Soft coil brush (or a long, soft bottle brush)
- Flashlight or headlamp
- Microfiber cloth
Avoid:
- Hard bristle brushes that can flatten coil fins
- Compressed air that blasts dust deeper into the compressor compartment (unless you can fully control where it goes)
- Excessive water (especially near the fan motor and wiring)
Step-by-step: how to clean refrigerator coils
This process works for most brands and styles. The access panels differ, but the goal is the same: remove insulation-like dust so air can move freely.
- Unplug the fridge and pull it out carefully. Give yourself enough space to work behind or beneath it. If your refrigerator sits on delicate flooring, slide a protective sheet underneath the front rollers.
- Locate the coils and fan area. Use a flashlight. On bottom-coil units, remove the front toe-kick grille (it typically snaps off) and, if needed, the lower rear access panel.
- Start with vacuuming loose debris. Use the hose attachment to remove the big clumps first. Go slowly so you do not snag wiring.
- Brush the coils gently. Use a coil brush to loosen packed dust between coil fins and around the compressor compartment. Work in sections.
- Vacuum again (thoroughly). The second vacuum pass is where you pull out what the brush loosened.
- Check the condenser fan (if visible). Many bottom-coil refrigerators have a small fan near the compressor. It should spin freely by hand (with the unit unplugged). If it is blocked by debris, clear it. If it wobbles, squeals, or does not spin smoothly, that is a repair issue.
- Reinstall covers and grilles. Do not run the fridge long-term with access panels removed, airflow is designed around those covers.
- Plug in and monitor cooling. Give the refrigerator time to stabilize. If it was warm, it can take several hours to recover.
Tip: If you have pets, you might be shocked by how much “felt” is trapped under the unit. That matting can act like a blanket around the condenser area.
After coil cleaning: quick adjustments that boost cooling
Coil cleaning helps the sealed system reject heat, but you can improve results by fixing common “support” problems.
Set the right temperatures
A fridge that is set too warm risks food safety, and one set too cold can cause freezing in the fresh-food section.
- Refrigerator: 40°F or below for safety
- Freezer: 0°F is the typical target
The USDA refrigeration guidance is a helpful reference point: USDA food safety refrigeration basics.
If you do not already have one, a simple refrigerator thermometer makes troubleshooting much easier.
Improve airflow around the refrigerator
Condenser coils need ventilation. If the fridge is pushed tight against the wall or boxed in by cabinetry, heat builds up.
- Leave a little breathing room behind and above (follow your manual’s clearance guidance).
- Do not block the toe-kick grille on bottom-coil models.
- Keep the area under the fridge clean, especially if it sits near a laundry room or garage entry.
Check door gaskets for leaks
If warm room air leaks in, the fridge runs longer and moisture can build up.
A quick test is the “paper test”: close the door on a sheet of paper and gently pull. If it slides out easily, the gasket may not be sealing well.
(If you are also dealing with an oven heat leak, this is similar in concept to an oven gasket issue. For that repair, see: How to repair an oven door seal in Phoenix.)
Make sure interior vents are not blocked
Overpacking can restrict airflow from the freezer to the refrigerator section on many designs. After cleaning coils, also:
- Keep vents clear inside both compartments.
- Avoid pressing food packages against the back wall where cold air enters.
How often should you clean refrigerator coils in Phoenix?
Most manufacturers recommend periodic cleaning, but the “right” schedule depends on dust and pets.
Here is a practical guideline you can use as a starting point:
| Home situation | Suggested coil cleaning frequency | Why it matters |
|---|---|---|
| No pets, relatively clean indoor air | Every 6 to 12 months | Typical household dust still accumulates |
| One or more pets that shed | Every 3 to 6 months | Hair quickly mats onto coils and fan intakes |
| Refrigerator in garage (common in Phoenix) | Every 3 to 6 months | Higher heat and dust load can reduce heat rejection |
| Recent remodeling or lots of drywall dust | After the project, then resume normal schedule | Fine dust clogs coils aggressively |
If you have noticed the fridge running longer than usual during hot spells, it is reasonable to clean coils at the start of the warm season.
If cleaning the coils doesn’t fix cooling: what to check next
Dirty coils are common, but they are not the only cause of poor cooling. Use this quick diagnostic table to decide whether you can keep troubleshooting or should call for refrigerator servicing.
| Symptom after coil cleaning | Common causes | What you can do | When to call a pro |
|---|---|---|---|
| Freezer cold, refrigerator warm | Damper/airflow issue, blocked vents, evaporator fan problem | Clear vents, listen for fan inside freezer | If fan is silent, noisy, or not spinning |
| Fridge not cooling at all | Failed start relay, compressor issue, control board, power problem | Confirm outlet power, check for tripped breaker | Immediately if compressor won’t start or clicks repeatedly |
| Heavy frost on freezer back wall | Defrost system failure (heater, thermostat, control) | Temporary manual defrost can confirm airflow restriction | If frost returns quickly or temps won’t stabilize |
| Loud rattling or buzzing near bottom | Condenser fan hitting debris, failing fan motor | Unplug, clear debris, ensure fan spins freely | If noise persists or fan wobbles |
| Sides very hot, runs constantly | Dirty coils, poor ventilation, sealed system strain | Improve clearance, confirm coil area is clean | If temps still rise or food is unsafe |
If your refrigerator temperature is above safe levels, protect your food first. The FDA and USDA recommend keeping refrigerated foods at 40°F or below, and when in doubt, discard perishable items.
When to consider professional refrigerator servicing in Phoenix
DIY coil cleaning is a great first step, but there are times when calling a technician is the smart (and safer) move:
- You need same day refrigerator repair in Phoenix because food is at risk.
- The compressor is extremely hot, the unit is clicking, or it repeatedly tries to start.
- You suspect a refrigerant or sealed system issue (often not DIY).
- The condenser fan motor is failing.
If you are weighing repair vs replacement, it helps to compare likely costs with the age and condition of your unit. These local references can help you set expectations:
- Refrigerator repair cost in Phoenix (real prices from local experts)
- Is it worth repairing a refrigerator in Phoenix’s heat?
In true breakdown situations, especially during extreme heat, searching for emergency appliance repair in Phoenix can be appropriate. Just be sure you ask about diagnostic fees, after-hours rates, and warranty on parts and labor before approving work.
The bottom line
Refrigerator servicing does not always mean a complex repair. Cleaning condenser coils is one of the simplest, highest-value maintenance steps you can do to improve cooling performance and reduce strain on your refrigerator, especially in dusty, hot Phoenix conditions.
If coil cleaning and basic airflow checks do not restore normal temperatures, stop guessing and get a proper diagnosis. It is often cheaper to address a fan or control issue early than to run a struggling refrigerator until a major component fails.