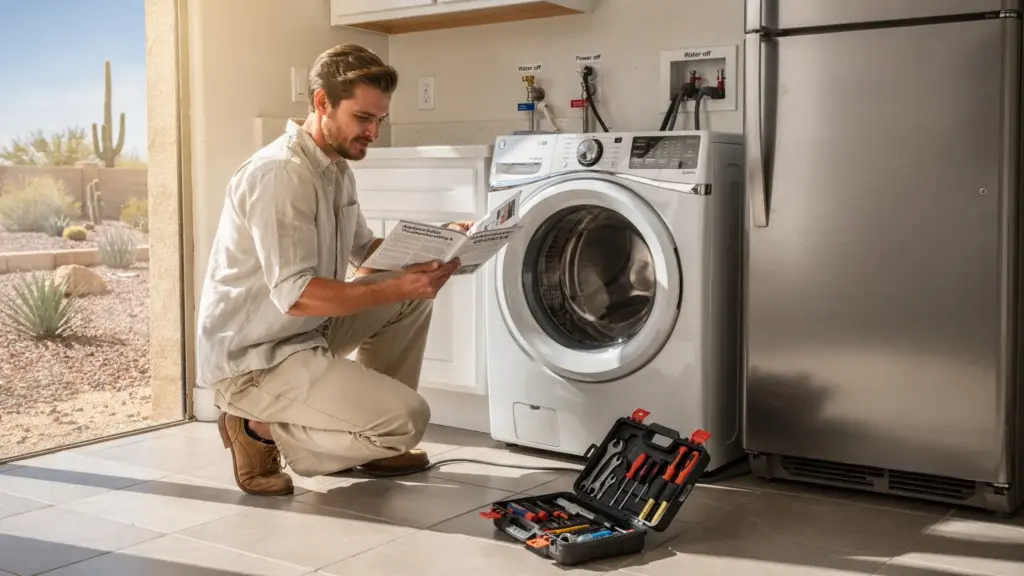
DIY appliance repair can feel like a quick win, until a “simple fix” turns into a flooded laundry room, a tripped breaker, or a refrigerator that stops cooling in the middle of a Phoenix heat wave. The good news is that most expensive DIY disasters are preventable. They usually come down to a handful of repeat mistakes: skipping safety steps, misdiagnosing the problem, or pushing past the point where a pro is the safer option.
Below are the top DIY mistakes to avoid in household appliance repair, plus what to do instead so you can save money without creating bigger problems.
A quick “should I DIY this?” filter (use this before touching tools)
If you only remember one thing, make it this: some appliance tasks are homeowner-friendly, others are high-risk by design. Use the table as a fast decision tool.
| Task type | Usually DIY-friendly | Usually “stop and call a pro” |
|---|---|---|
| Electrical | Replacing a plug-in light bulb in a fridge, cleaning coils with the unit unplugged | Diagnosing live voltage, breaker trips, control board work, capacitor handling |
| Refrigeration | Cleaning condenser coils, checking door gasket fit, verifying settings | Sealed-system work (refrigerant), compressor/start relay diagnosis beyond basic checks |
| Gas cooking | Cleaning burner caps/ports, verifying power to igniter systems | Any gas odor, gas valve/regulator issues, internal gas line disassembly |
| Water and drains | Replacing washer fill hoses, cleaning a pump filter (per manual) | Repeated leaks, tub seal/bearing work, anything requiring major disassembly |
| Heat appliances | Cleaning dryer venting, replacing lint ducting | Gas dryer combustion issues, overheating that trips safeties repeatedly |
If you are unsure, start with safe first checks. For refrigerators specifically, this guide is a good baseline: Refrigerator Repair How To: Safe DIY Steps to Try First.
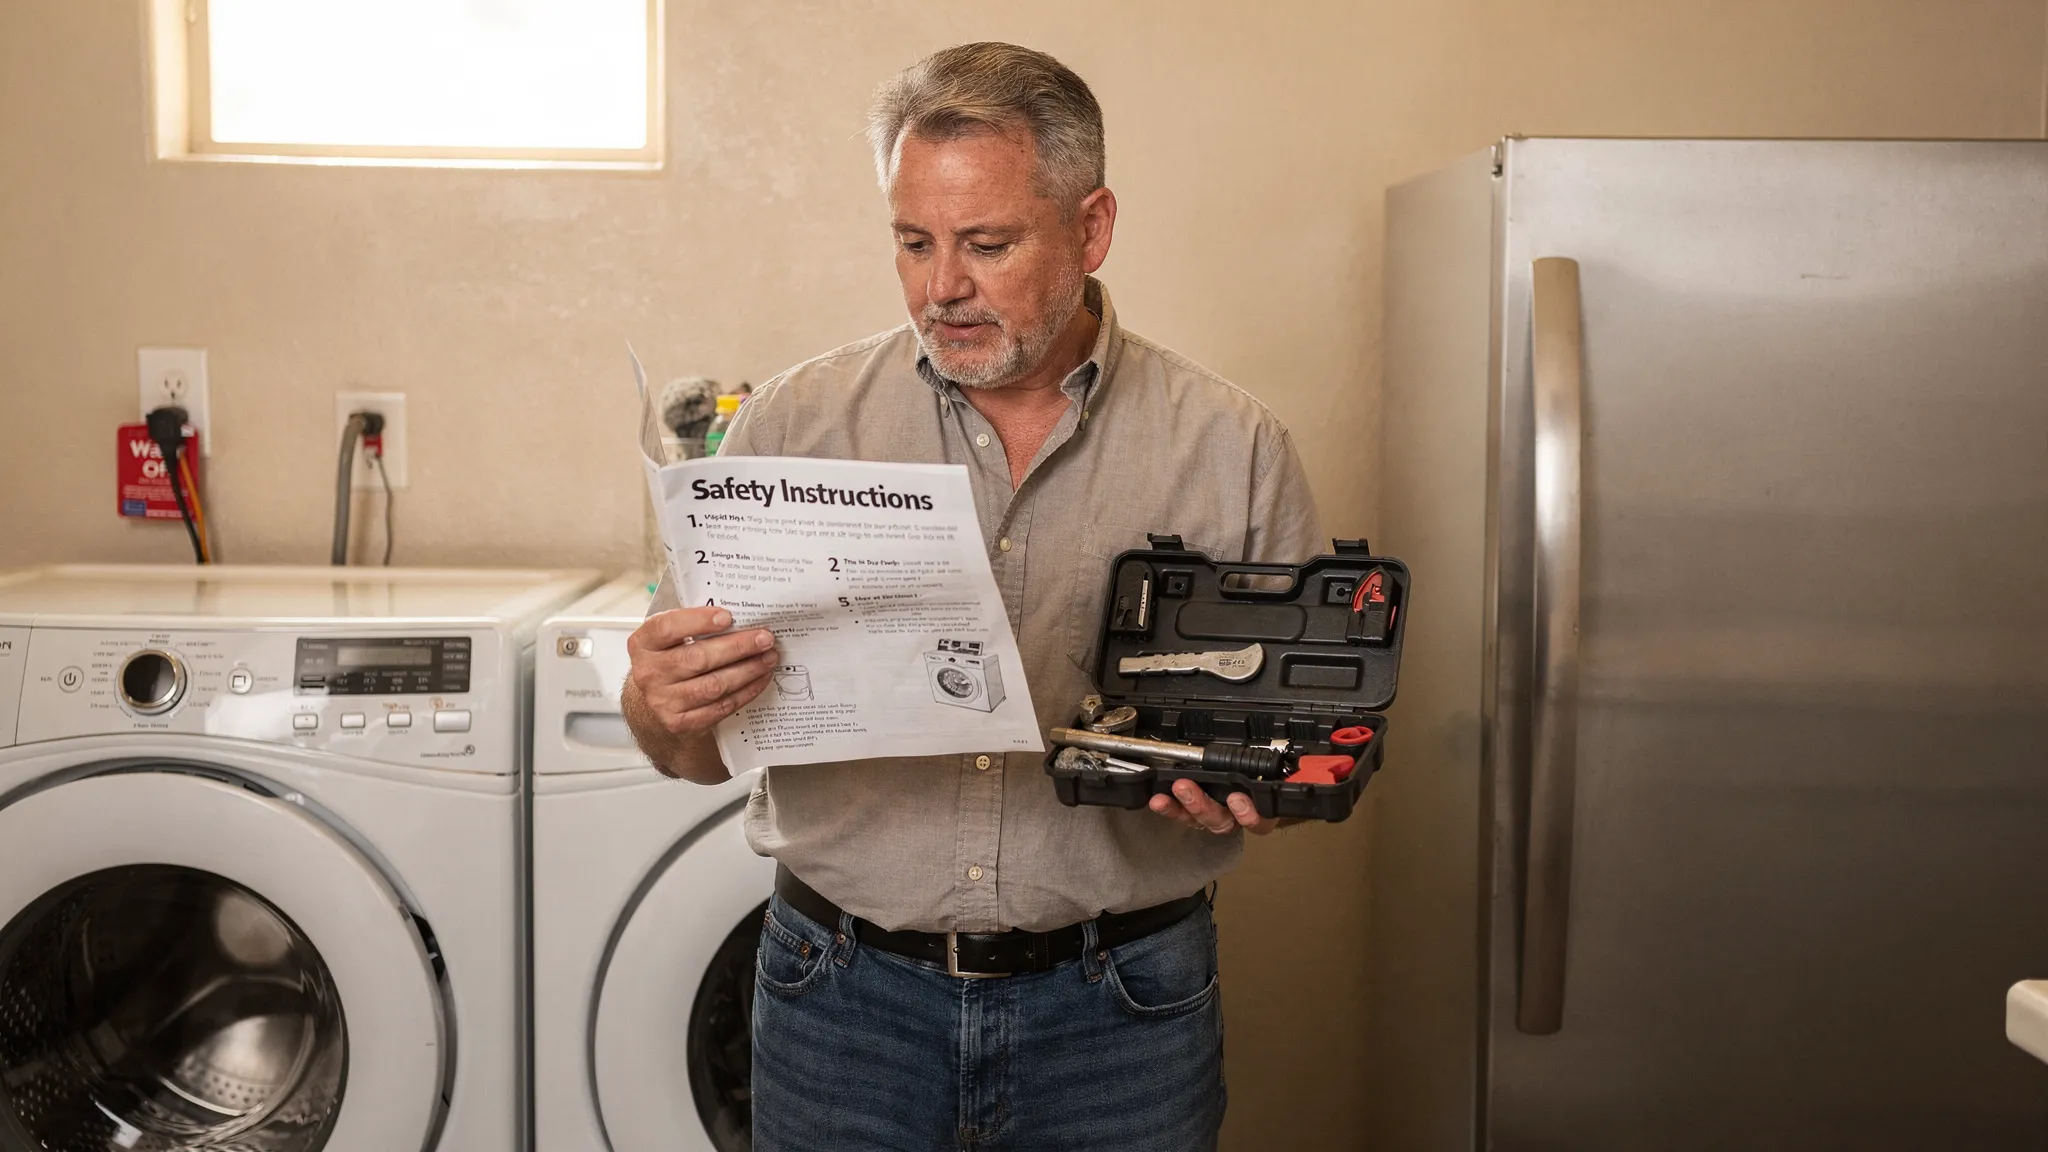
DIY mistake #1: Skipping the “power, gas, water” shutdown
Many appliance injuries and home damage events happen before the “real repair” even begins.
Common errors include:
- Working on an appliance that is still plugged in (or hardwired circuit still energized).
- Forgetting to shut off the washer’s hot and cold supply valves before loosening hoses.
- Testing a gas oven or range after reassembly without checking for gas odor.
Do this instead: Unplug first, then confirm it is truly off. Shut off water valves before any hose or inlet work. For gas appliances, if you smell gas at any point, stop, ventilate, and contact your gas utility or a qualified technician.
DIY mistake #2: Treating symptoms instead of diagnosing the cause
A classic example is replacing parts because a symptom “sounds like” a common failure.
- A warm refrigerator might be dirty condenser coils, a fan issue, or a defrost problem, not automatically a compressor.
- A washer that will not spin might be a drain problem, an imbalance, or a lid/door lock issue, not always a motor.
- An oven that “doesn’t heat” might be a failed igniter (gas), a bad element (electric), or even incorrect settings.
Do this instead: Start with the most likely, lowest-risk checks.
For refrigerators, see: What Causes a Refrigerator to Stop Cooling? Top Culprits.
For washers, see: Washer Repair Checklist: Diagnose Leaks and No Spin.
DIY mistake #3: Not capturing the model number and baseline measurements
DIY repairs go sideways when homeowners order the “right” part for the wrong revision, or reassemble without realizing what changed.
Do this instead (2 minutes that saves hours):
- Photograph the model and serial tag.
- Take 2 to 4 photos before disconnecting anything (wiring, hose routing, bracket orientation).
- For cooling issues, log temperatures with a fridge thermometer for a day if the unit is still running.
If you are already hearing strange sounds, this reference can help you narrow down what you are actually dealing with: Why Your Refrigerator Is Noisy: Meanings by Sound Type.
DIY mistake #4: Using the wrong cleaning method (especially in Phoenix)
Phoenix dust, pet hair, and garage placement make “cleaning” a real repair step, but the wrong approach can damage parts.
Frequent problems:
- Vacuuming or brushing a condenser coil aggressively and bending fins.
- Spraying cleaner directly into control panels, knobs, or display areas.
- Using harsh abrasives on oven door gaskets or seals, causing premature failure.
Do this instead: Use a coil brush and vacuum gently, unplugged. Keep moisture away from electronics. For seals and gaskets, clean with mild soap and water and dry thoroughly.
If you are dealing with an oven heat leak, follow a seal-specific approach, not guesswork: How to Repair an Oven Door Seal in Phoenix.
DIY mistake #5: Overtightening, stripping threads, and creating leaks
Many appliance components are thin metal, plastic, or soft aluminum. Over-tightening turns a manageable job into a broken bracket, cracked valve, or warped seal.
Typical DIY damage includes:
- Stripping sheet-metal screws on oven doors and hinge receivers.
- Cracking refrigerator gasket channels during replacement.
- Over-tightening washer hoses, deforming rubber washers and causing slow drips.
Do this instead: Tighten to “snug plus a little,” not “as hard as possible.” If a screw is not biting, stop and address the thread issue rather than forcing it.
If you are repairing an oven door, alignment and hinge seating matter more than brute force: Fix Oven Door: Hinges, Springs, and Alignment Steps.
DIY mistake #6: Ignoring airflow and clearances (the hidden cause of repeat failures)
A lot of “appliance problems” are really ventilation problems.
- Refrigerators need clean coils and proper clearance to dump heat.
- Dryers need unobstructed venting to prevent long dry times and overheating.
- Ovens need intact seals and proper door closure to regulate temperature.
Do this instead: Make airflow checks part of troubleshooting, especially before buying parts. Dryer airflow issues are common and often DIY-fixable with cleaning: Clothes Dryer Repair: Fix No Heat and Long Dry Times.
DIY mistake #7: “Temporary” bypasses that create safety hazards
Bypassing a door switch, taping down a sensor, or forcing a latch can turn a designed safety system into a hazard.
Examples that should be avoided:
- Bypassing dryer door switches.
- Forcing an oven door closed when hinges or latch hardware are failing.
- Using foil or improvised materials where a gasket or heat shield is required.
Do this instead: Restore the appliance to safe operation or stop using it until it is repaired correctly.
DIY mistake #8: Attempting sealed-system refrigeration or internal gas work
Two areas are consistently high-risk for DIY:
- Refrigerant and sealed-system work: This requires specialized tools and, in many cases, regulated handling. The EPA’s Section 608 program governs refrigerant management (EPA overview).
- Gas appliance internal work: Even small mistakes can create leak or combustion risks.
Do this instead: If your troubleshooting points to sealed-system issues (compressor, refrigerant leak) or you suspect a gas supply problem, this is the point to call a qualified technician.
DIY mistake #9: Waiting too long when food safety or property damage is on the line
Phoenix heat changes the urgency. A struggling refrigerator can cross into a food safety problem quickly, and a small washer leak can become flooring damage.
The USDA’s food safety guidance includes the well-known “2-hour rule” for perishables (1 hour if above 90°F) and keeping the fridge at 40°F or below (USDA FSIS guidance).
| Situation | What to do right now | What not to do |
|---|---|---|
| Fridge is warming but still running | Keep doors closed, check temps with a thermometer, move high-risk foods to a cooler if needed | Do not keep opening the door to “check” |
| Fridge stopped cooling completely | Start a food plan immediately (coolers, ice), then troubleshoot power and airflow quickly | Do not assume it will “come back later” |
| Washer leak | Shut off water valves, unplug if water is near electrical, contain the leak | Do not keep running “one more cycle” |
If you need a step-by-step action plan, this timeline is helpful: What Happens When Your Fridge Stops Cooling? Food Safety Timeline.
DIY mistake #10: Calling for service unprepared (which can raise your total cost)
Even when you do the right thing and call for help, a vague description often leads to longer diagnostics and repeat visits.
Do this instead: Prepare a 60-second “service summary”:
- Appliance brand, model number
- Symptom, when it started, any recent changes (power outage, move, heavy load)
- Any error codes
- Photos (leak location, frost pattern, damaged seals)
If you are comparing providers, use this vetting framework: Home Appliance Repair Near Me: How to Vet a Tech.
Quick reference: the most common DIY mistakes, and the safer move
| DIY mistake | What it often causes | Safer move |
|---|---|---|
| Working live (power/water/gas still on) | Shock, flood, fire risk | Shut down power, water, gas first |
| Guessing and swapping parts | Wasted money, new failures | Confirm basics (airflow, seals, error codes) |
| Using harsh cleaning or spraying electronics | Damaged fins, shorted controls | Gentle coil cleaning, keep moisture away |
| Over-tightening and forcing parts | Stripped threads, leaks | Snug fit, correct part, correct alignment |
| Pushing into sealed-system refrigeration or gas internals | Safety and compliance risk | Stop and book a qualified technician |
Frequently Asked Questions
What is the biggest DIY appliance repair mistake homeowners make? Skipping safety shutdown steps (unplugging, shutting water valves, stopping if gas odor is present) is the most common and most dangerous mistake.
When should I stop DIY and call a professional? Stop if you have electrical burning smells, repeated breaker trips, gas odor, sealed-system refrigerator symptoms, active flooding, or any situation involving refrigerant or internal gas components.
Is it worth trying DIY before scheduling appliance repair in Phoenix? Yes, for safe basics like cleaning refrigerator coils, checking door seals, verifying settings, and clearing dryer venting. These steps can resolve common issues and reduce service time if you still need a tech.
How can I avoid overpaying for emergency appliance repair Phoenix calls? Do safe triage first (power, airflow, temps, shutoffs), document model and symptoms, then use a vetting checklist and ask if the visit is “same-day diagnosis” or “same-day repair” based on parts availability.
What should I do if I need same day refrigerator repair Phoenix service? Keep doors closed, protect food with coolers and ice, confirm it has power and airflow, then contact a provider with availability. Having the model number and temperatures ready speeds up scheduling and diagnosis.
Can I fix an oven that is not heating without replacing parts? Sometimes. You can safely confirm settings, check for obvious door seal leaks, and inspect visible damage. For gas ignition problems or internal electrical faults, a technician is often the safer route. A cost-focused overview is here: Oven Repair Price: What Phoenix Techs Charge in 2026.
Next step: do the safe checks, then decide fast
If you want a “do it right” workflow, start with safe basics, document what you see, and set a clear stop line. When it looks like a bigger repair, switching to a pro early can be cheaper than doubling down on DIY.
Keep learning with:
- Kitchen Appliance Repair Near Me: Same-Day Options
- Appliance Repair Costs: Service Fees vs Parts Explained
- Refrigerator Repair Cost in Phoenix: Real Prices from Local Experts
When you are ready to compare Phoenix appliance repair services, use the guides above to ask better questions, avoid scams, and get to a safe fix faster.