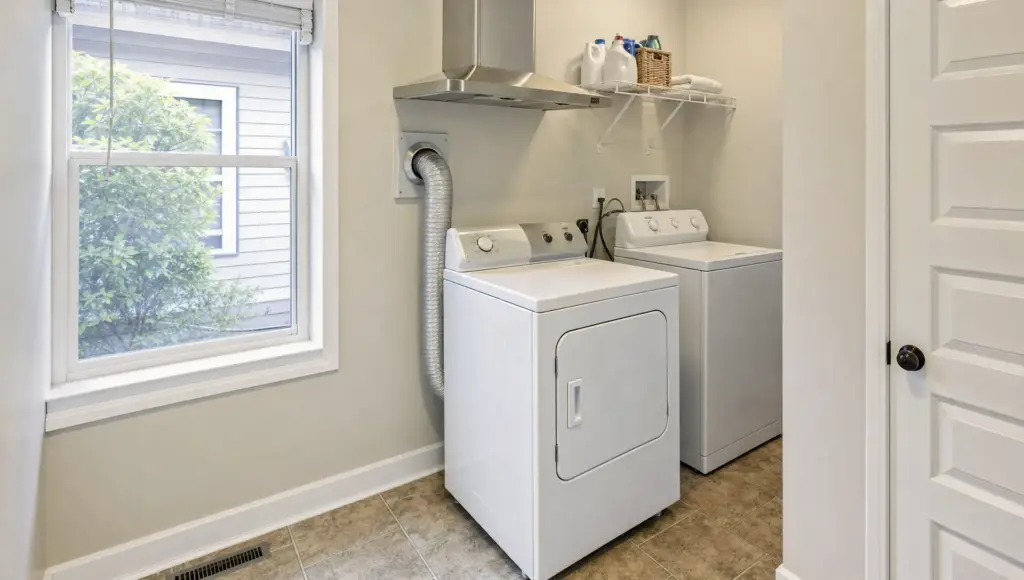
When your dryer takes multiple cycles to dry, the problem is usually not “old dryer behavior.” Most long dry times come from restricted airflow, wet loads leaving the washer, a dirty sensor or a heating problem that should be checked before it gets worse. The good news is that several causes are safe for homeowners to inspect before scheduling service.
Start with the simple checks below. A dryer needs three things to dry well: airflow, heat and tumbling space. If any one of those is off, towels can stay damp, jeans may need a second cycle and the laundry room can start feeling hotter than normal.
Quick Safety Notes Before Checking a Dryer That Takes Multiple Cycles to Dry
Unplug an electric dryer before moving it, removing panels or touching the vent connection. For a gas dryer, turn the gas supply off if you plan to move the appliance or disconnect the vent, and stop immediately if you smell gas. Do not open a sealed gas valve assembly or bypass safety switches.
Also avoid running repeated cycles “just to get through the load” if the dryer smells hot, shuts off mid-cycle, trips a breaker or leaves the top of the cabinet unusually hot. Those symptoms can point to overheating, poor exhaust or an electrical issue. The U.S. Fire Administration recommends cleaning the lint filter before and after each load and keeping the dryer vent pipe clear to reduce fire risk.
1. Check the Lint Screen First
The lint screen is the fastest place to start because it directly affects airflow. If it is covered in lint, air cannot move through the drum efficiently. Moist air stays trapped with the clothes, so the dryer runs and runs without finishing the job.
Remove the lint screen and clear it completely. Then wash it with warm water and a small amount of dish soap if you use dryer sheets or fabric softener. Residue can create a thin film that blocks air even when the screen looks clean. Let it dry fully before reinstalling it.
A simple test helps: run water over the screen. If water pools instead of passing through, the mesh likely has residue buildup. Clean it gently with a soft brush, rinse it and test again.
2. Make Sure the Load Is Not Too Large or Too Mixed
Overloading is one of the most overlooked reasons a dryer takes too long. Clothes need room to tumble so heated air can reach all sides of the fabric. A packed drum creates a dense ball of laundry, especially with towels, bedding and heavy cotton.
Try drying a smaller load and compare the result. The drum should be loose enough for items to lift and fall as it turns. If the dryer works normally with half a load, the appliance may be fine and the issue may be load size.
Mixed fabrics can also slow drying. A load with lightweight shirts, jeans, hoodies and towels may confuse auto-dry cycles because some items dry long before others. Sort heavier items together, shake out large pieces before loading and avoid stuffing sheets around smaller clothes.
3. Confirm the Washer Is Spinning Clothes Out Properly
Sometimes the dryer gets blamed for a washer problem. If clothes are coming out of the washer unusually heavy, dripping or wetter than normal, the dryer has to remove far more water than it was designed to handle in a standard cycle.
Run a drain and spin cycle, then check whether the load feels damp or soaked. Common washer-side causes include an unbalanced load, clogged drain path, weak spin cycle or a washer that never reaches full spin speed. If you notice standing water, repeated unbalanced load errors or clothes that feel saturated, start with the washer before replacing dryer parts.
For washer symptoms that affect drying time, this washer repair checklist for leaks and no-spin problems can help you narrow down whether the load is entering the dryer too wet.
4. Inspect the Flexible Vent Hose Behind the Dryer
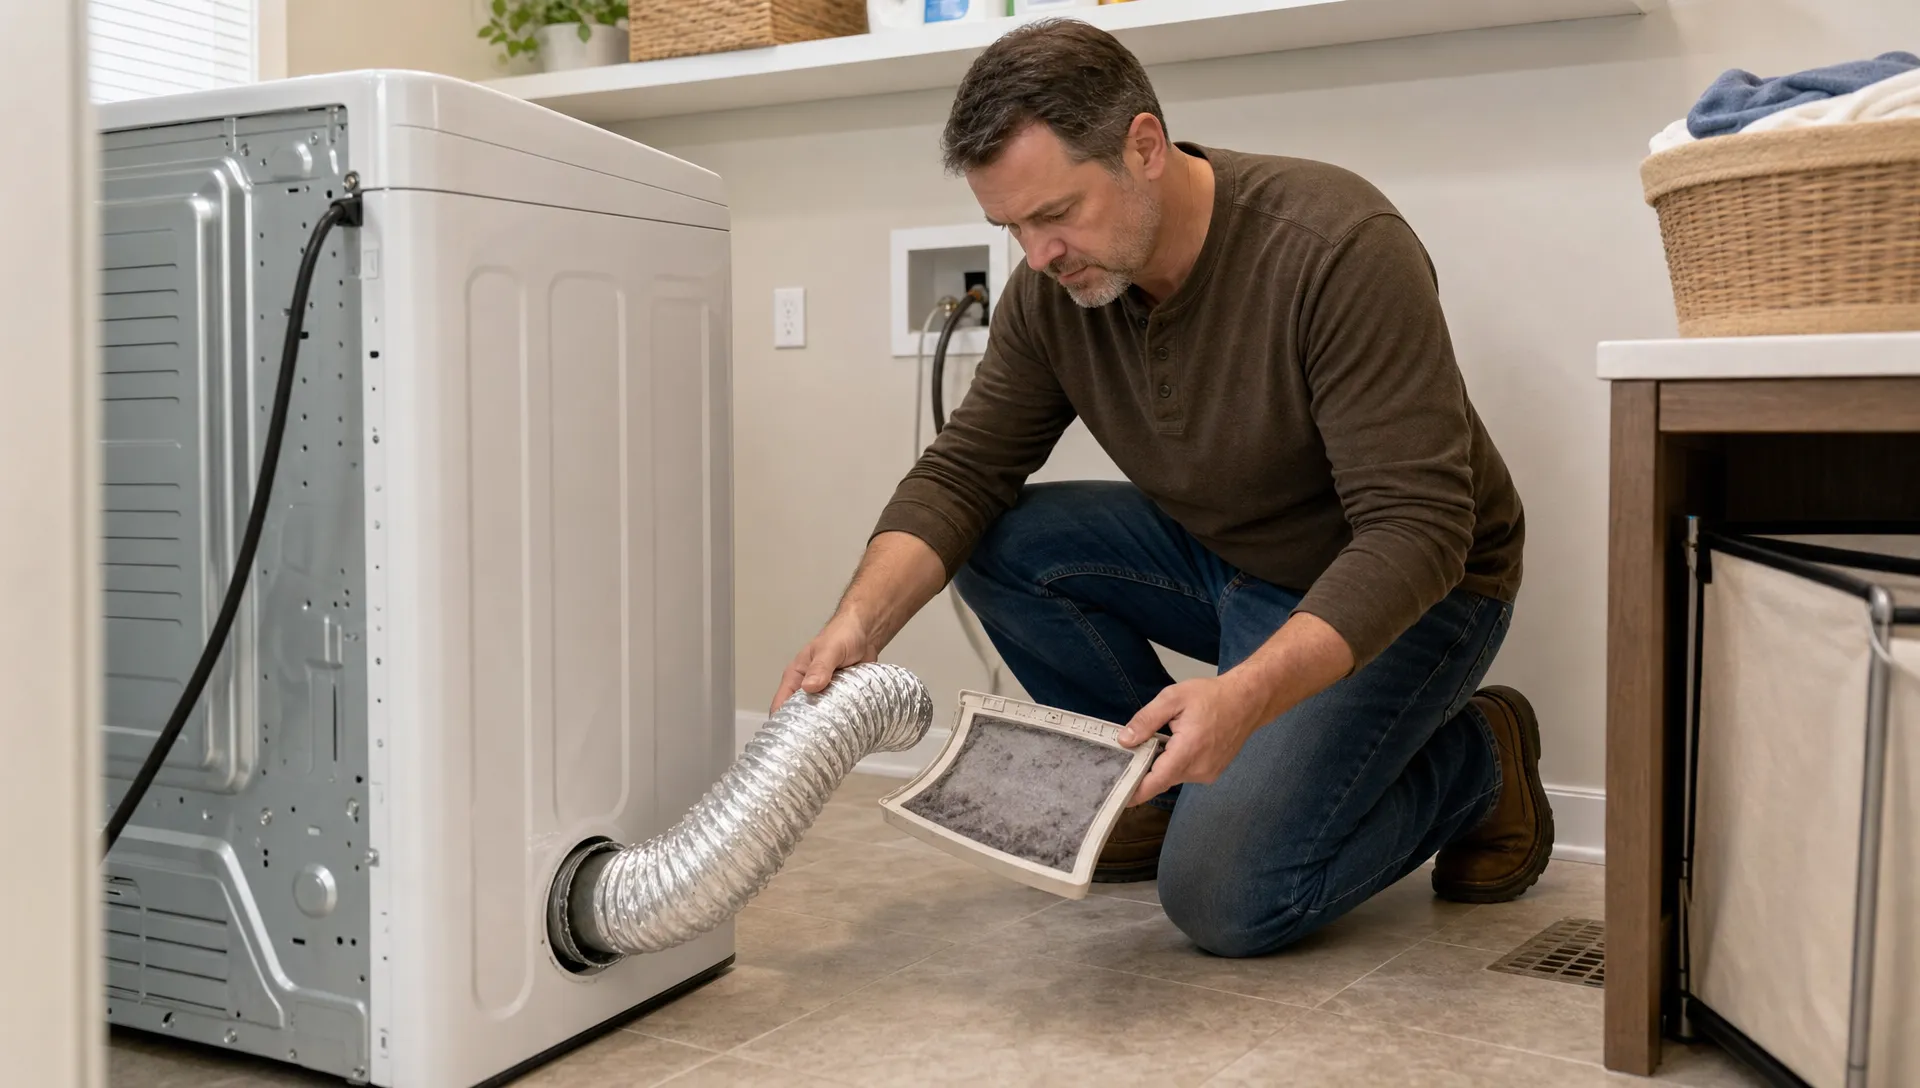
The short vent hose behind the dryer can cause big problems. If it is crushed, kinked, clogged or too long, the dryer cannot push moist air out of the drum. This is especially common after moving the dryer back into place because the hose can fold behind the cabinet.
Pull the dryer forward carefully and look at the hose. It should be as short and straight as practical, without sharp bends. Disconnect it only if you can do so safely, then check for lint buildup inside the hose and at the dryer outlet. Replace flimsy plastic or damaged foil venting with rigid or semi-rigid metal ducting where possible, following the dryer manufacturer’s installation instructions and local code.
Here is a quick comparison of common findings:
| What you see | What it usually means | What to do next |
|---|---|---|
| Crushed hose | Airflow is restricted behind the dryer | Reposition or replace the hose |
| Heavy lint inside hose | Vent path is partially blocked | Clean the hose and check the wall duct |
| Long hose with several bends | Exhaust has too much resistance | Shorten and straighten the run |
| Dryer heats but room feels humid | Moist air may not be exhausting outside | Check the exterior vent hood |
5. Check the Exterior Vent Hood
After checking behind the dryer, go outside and inspect the vent hood. The flap should open freely when the dryer runs. If it barely moves, airflow is weak somewhere in the system. Lint, bird nesting material, leaves or a stuck flap can block the opening.
Run the dryer on an air or timed cycle and feel for steady airflow at the exterior vent. Weak airflow outside, combined with normal airflow at the dryer outlet when the hose is disconnected, often points to a blockage in the wall duct or roof vent path.
Do not push tools deep into the duct if you cannot see what you are doing. Long ducts, rooftop terminations and ducts with multiple elbows often need professional cleaning equipment. This is particularly relevant in Phoenix homes where dust and lint can accumulate quickly in laundry areas, especially if the dryer is in a garage or utility closet.
6. Clean the Moisture Sensor Bars
Many modern dryers use moisture sensors to decide when clothes are dry. These are usually two metal bars inside the drum, often near the lint screen housing. When residue coats the bars, the dryer can misread the load and end the cycle too early or keep running inefficiently.
Wipe the sensor bars with a soft cloth and rubbing alcohol, then let them dry. Avoid harsh abrasives that can scratch the metal. If you use dryer sheets often, sensor cleaning may need to become a routine maintenance step.
A clue that the sensor may be involved is uneven cycle behavior. For example, auto-dry may stop with clothes still damp, while timed dry works better. That does not prove the sensor is bad, but it makes cleaning the bars a worthwhile low-cost check.
7. Verify the Heat Setting and Cycle Choice
Cycle selection matters. Eco modes, low heat settings and delicate cycles are useful for protecting fabrics, but they can extend drying time. If towels or jeans are being dried on low heat or an energy-saving setting, the load may need extra time.
Try a timed dry cycle on the appropriate heat setting for the fabric. If the dryer gets hot and dries normally on timed dry, the problem may be settings, load mix or moisture sensing. If it tumbles but stays cool on every setting, move to the heating checks below.
Use this as a practical reference:
| Symptom | Likely area to check | DIY-safe first step |
|---|---|---|
| Clothes warm but damp | Airflow or load size | Clean lint screen and inspect venting |
| Dryer tumbles but no heat | Power, igniter or heating circuit | Check breaker or gas supply safely |
| Auto cycle stops too soon | Moisture sensor or load mix | Clean sensor bars and sort fabrics |
| Dryer gets very hot outside | Restricted venting | Stop using it until airflow is checked |
8. Look for Heating Problems That Need a Technician
If airflow is clear and loads are reasonable, a heating failure may be the reason the dryer takes multiple cycles to dry. Electric dryers usually need a 240-volt supply. If one side of the breaker trips, the motor may still run on partial power while the heating element does not heat correctly. Reset the double breaker fully by switching it off, then back on.
For electric dryers, possible failed parts include the heating element, thermal fuse, cycling thermostat, high-limit thermostat, control board or wiring. For gas dryers, common issues include a weak igniter, gas valve coils, flame sensor problems or restricted burner operation. These parts require proper testing, and guessing can get expensive quickly.
If you want a more detailed walkthrough of no-heat symptoms, airflow checks and long dry-time diagnosis, use this Phoenix-focused guide to clothes dryer repair for no heat and long dry times. It goes deeper into the repair side once the basic homeowner checks are done.
When to Stop Troubleshooting and Call for Repair
Some dryer problems are not worth pushing through another cycle. Stop using the dryer and schedule service if you notice burning smells, scorching on clothing, repeated breaker trips, a gas smell, loud scraping sounds or a dryer that shuts off before the load finishes.
You should also call a technician if the vent is clear but the dryer still has no heat, overheats or behaves differently from cycle to cycle. Electrical testing inside a dryer requires the right tools and safety training. For Phoenix homeowners, this is where local appliance repair Phoenix support can save time and reduce the risk of replacing good parts.
A same-day appointment may be worth considering when the dryer is part of a stacked laundry center, the household depends on it daily or the appliance shows signs of overheating. If a dryer smells hot or creates a potential safety issue, looking for emergency appliance repair Phoenix is more sensible than continuing to run extra cycles.
Simple Maintenance to Prevent Long Dry Times
Once the dryer is working properly again, a few habits can keep long dry times from coming back. Clean the lint screen every load, keep the area behind the dryer clear and inspect the exterior vent hood periodically. If the vent run is long, hidden in a wall or routed through the roof, plan for periodic professional vent cleaning.
Avoid pushing the dryer tightly against the wall, especially if the vent hose compresses easily. Leave enough space for the duct to stay open. Also pay attention to changes in drying time. A gradual increase from 45 minutes to 70 or 90 minutes is usually a sign that lint or restriction is building up somewhere.
For laundry pairs, remember that washer performance and dryer performance are connected. A washer that leaves clothes too wet will make any dryer look weak. If both appliances seem to be acting up, this guide to washer dryer repair when one failure causes both explains how shared power, venting and drainage problems can overlap.
Frequently Asked Questions
Why does my dryer take two or three cycles to dry towels? Towels hold a lot of water and can clump together, but they should not need three full cycles in a healthy dryer. Check load size, washer spin performance, lint buildup, the vent hose and the exterior vent hood first.
Can a clogged dryer vent make clothes stay damp? Yes. A clogged vent traps moist air inside the dryer, which slows evaporation and can make the dryer cabinet hotter than normal. Poor airflow is one of the most common causes of long dry times.
Why is my dryer hot but clothes are still wet? Heat without airflow will not dry clothes efficiently. This often points to a blocked lint screen, crushed vent hose, clogged wall duct or exterior vent restriction.
Is it safe to run the dryer again if it smells hot? No. Stop the dryer, unplug it if safe and inspect for lint buildup or restricted venting. If the smell continues, call a qualified technician before using it again.
How often should I clean my dryer vent? Clean the lint screen every load and inspect the vent path regularly. Homes with long ducts, heavy laundry use, pets or rooftop vents may need more frequent professional vent cleaning.
A dryer that needs multiple cycles is giving you a useful warning. Start with airflow, load size, washer spin and sensor cleaning. If those checks do not solve it, the issue is likely inside the heating or control system and professional diagnosis is the safer next step.