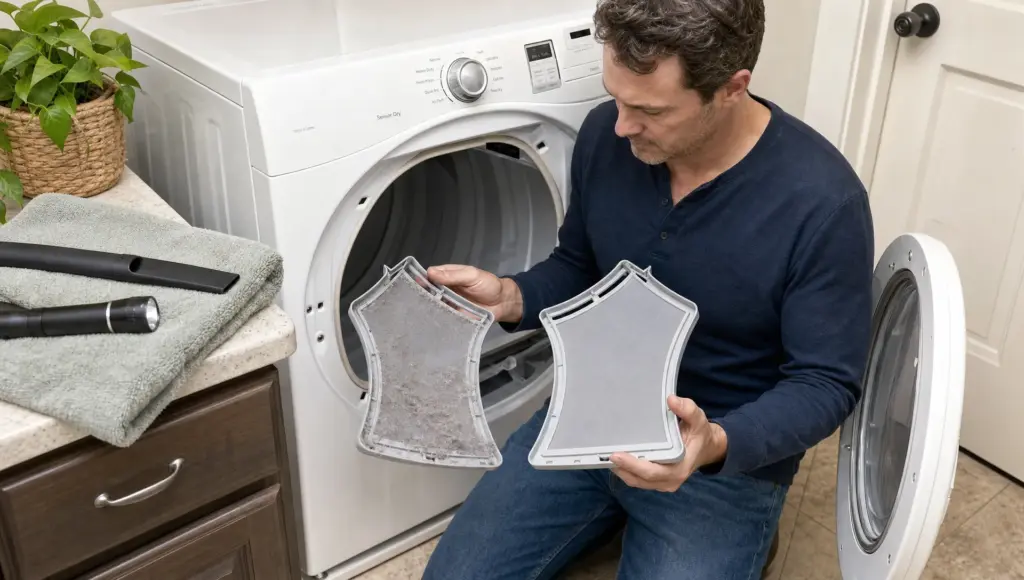
A dryer lint screen that pops up, slides out during a cycle or refuses to sit flush is more than a small annoyance. The lint screen helps protect airflow, drying performance and the dryer’s internal parts, so learning how to replace a dryer lint screen that won’t stay in can prevent bigger problems later.
In most cases, the fix is straightforward: identify the correct replacement screen, clean the lint screen housing and check for broken tabs, bent frames or debris in the slot. The key is not to force the old screen back into place. If it no longer locks in, it may let lint bypass the filter or catch on clothes.
Why a Dryer Lint Screen Won’t Stay In
Before ordering a replacement, take a minute to figure out why the screen is loose. A lint screen can fail for several reasons, and the right repair depends on the cause.
Common reasons include:
- Broken plastic tabs: Many lint screens rely on small molded tabs or edges to stay seated. Once they crack, the screen can lift or shift.
- Warped frame: Heat, age and repeated removal can bend the plastic frame so it no longer fits the slot.
- Bent mesh: If the mesh has pulled away from the frame, the screen may snag or sit unevenly.
- Lint buildup in the housing: Packed lint, dryer sheet residue or small items can block the screen from sliding fully into place.
- Wrong replacement part: Screens can look similar but vary by model number, handle shape, width and locking style.
- Damaged lint screen chute: If the slot itself is cracked or distorted, a new screen may still feel loose.
A loose screen can also be a clue that the dryer has been running with restricted airflow. If your dryer is taking longer than normal to dry, or if the cabinet feels hotter than usual, it is worth checking the full airflow path. PHX Appliance Fix has a separate guide to dryer no heat and long dry time issues that covers venting, heating and airflow checks in more detail.
How to Replace a Dryer Lint Screen That Won’t Stay In
The replacement process is usually simple, but accuracy matters. Dryer lint screens are model-specific, and a screen that is off by a small amount may seem to fit until vibration makes it pop out again.
Tools and Supplies You’ll Need
You usually do not need specialized tools. Gather these before you begin:
- Replacement lint screen matched to your dryer model
- Vacuum with crevice attachment
- Flashlight
- Soft brush or lint brush
- Mild dish soap and warm water
- Towel
- Work gloves, optional
Unplug the dryer before cleaning inside the lint screen housing. If you have a gas dryer, you typically do not need to move or disconnect the gas line for a lint screen replacement, but avoid pulling the appliance forward unless you know how to do so safely.
Step 1: Confirm the Dryer Model Number
Open the dryer door and look for the model and serial number tag. It is commonly located around the door opening, on the inside door panel or along the cabinet frame. On some models, the tag may be on the rear panel.
Write down the full model number, not just the brand or series name. For example, two dryers from the same product line may use different lint screens if one has a top-mounted filter and the other has a door-mounted filter.
Use that model number to search for an OEM or compatible replacement. The screen should match the original handle shape, frame length, width, thickness and locking points. If the old screen is not original, use the dryer’s model number rather than trying to match the worn part by appearance alone.
Step 2: Inspect the Old Lint Screen
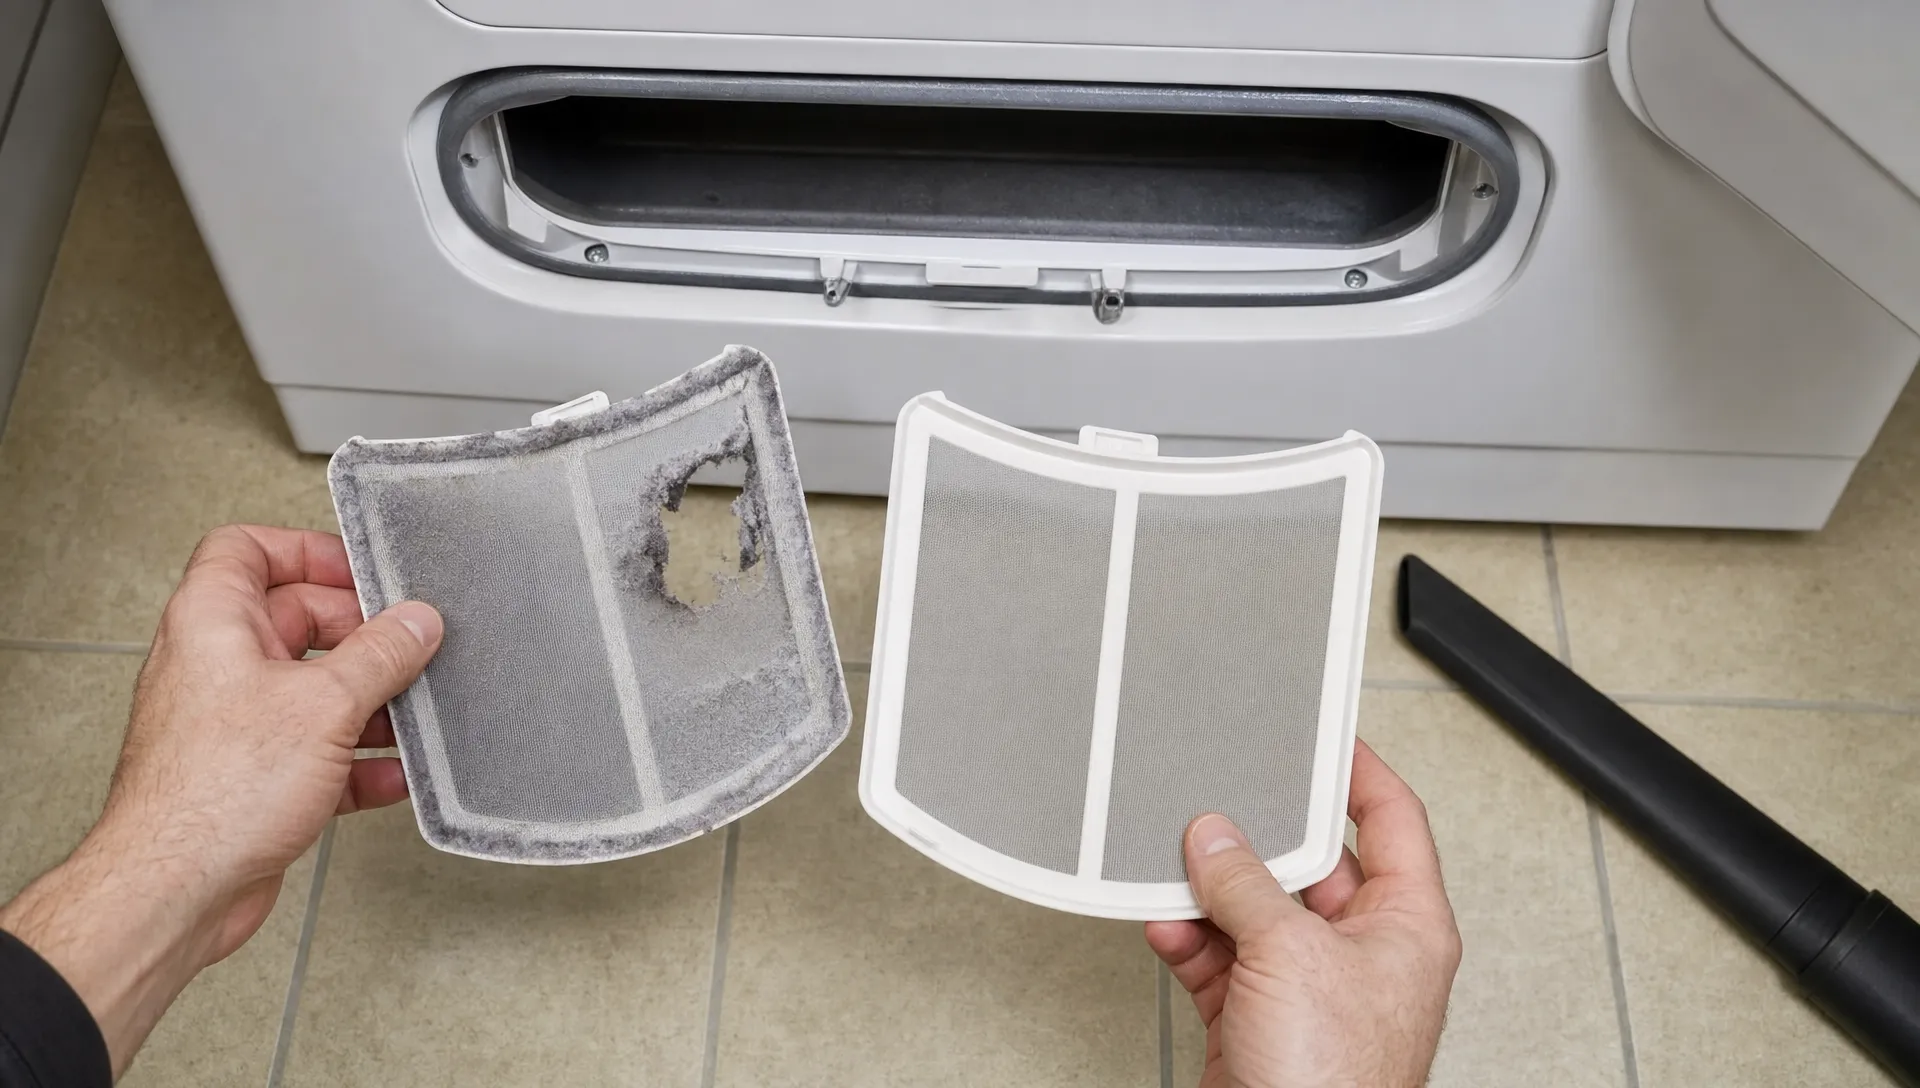
Remove the old screen and place it on a flat surface. Look closely at the frame and mesh. If the screen rocks, curls upward or has cracked corners, it probably cannot sit securely anymore.
Pay special attention to the leading edge, the handle and any plastic tabs near the bottom. These small details are often what hold the screen in the chute. A missing tab may be hard to notice until you compare the old part with a new one.
If the mesh is torn, do not keep using the screen. Torn mesh allows lint to pass into the dryer’s internal airflow path, where it can collect around the blower housing, heating area or exhaust duct.
Step 3: Clean the Lint Screen Slot
A dirty lint screen slot can make a good screen act like a bad one. Shine a flashlight into the chute and look for compacted lint, pet hair, coins, buttons, dryer sheet fragments or other debris.
Use a vacuum crevice tool to remove loose lint. Then use a soft brush to loosen anything stuck to the sides of the chute. Do not use sharp tools that could crack plastic or puncture flexible components inside the dryer.
If the old screen had a waxy film from dryer sheets or fabric softener, wash it with warm water and mild dish soap before comparing fit. A residue-coated screen can restrict airflow even when it appears clean. Let the screen dry fully before putting it back into the dryer.
Replacing the Lint Screen: Step-by-Step
Once you have the correct part and the slot is clean, install the replacement carefully. This is where you can confirm whether the problem was the old screen or the lint chute itself.
- Unplug the dryer: Disconnect power before cleaning or inspecting inside the lint screen area.
- Remove the old screen: Pull it straight out without twisting. If it catches, inspect the chute for stuck lint or broken plastic.
- Compare old and new screens: Check the handle, frame shape, locking tabs and mesh size before installation.
- Clean the screen housing: Vacuum the slot again so the new screen can seat fully.
- Insert the new screen slowly: Slide it into the chute along the same path as the old one.
- Press until it sits flush: The handle should rest evenly without rocking or popping up.
- Test the fit by hand: Gently pull upward. The screen should remove smoothly but should not lift on its own.
- Run a short air-only cycle: Watch for vibration, rattling or movement around the lint screen area.
If the new screen slides in easily and stays flush, the repair is complete. If it still pops out, the dryer may have damage in the lint screen housing, chute or surrounding plastic frame.
What If the New Lint Screen Still Won’t Stay In?
A new lint screen should not need tape, wedges or improvised clips to stay in place. If it does, something else is wrong.
Start by confirming the replacement part again. A near-match can be deceiving, especially with popular brands that have many similar filter designs. If the part number checks out, inspect the lint screen chute with a flashlight. Look for cracked plastic rails, missing stops, melted edges or screws that have backed out near the filter opening.
On door-mounted lint screens, check whether the door closes squarely and whether the filter area is being pushed or distorted. A sagging door, loose hinge or misaligned panel can affect how the lint screen seats. On top-mounted lint screens, inspect the top panel opening for bent trim or debris packed at the bottom of the chute.
If the chute is damaged, the repair may require removing a dryer panel to replace the lint duct assembly or secure loose parts. That is a more involved job than replacing the screen itself, especially if wiring, gas components or the blower housing are nearby.
Safety Risks of Running a Dryer With a Loose Lint Screen
It may be tempting to keep using the dryer if the screen only pops up a little, but lint bypass is not something to ignore. The filter is designed to capture lint before it travels deeper into the appliance and vent system.
According to the U.S. Fire Administration, failure to clean dryers is a leading factor in home clothes dryer fires. A loose, torn or missing lint screen can contribute to lint accumulation inside areas that are harder to clean.
A loose lint screen can also cause practical problems:
- Lint collects inside the dryer cabinet or exhaust path
- Clothes snag on the raised edge of the screen
- Drying times increase because airflow is restricted
- The dryer may run hotter than designed
- The blower wheel or vent may collect debris faster
In Phoenix homes, lint can mix with desert dust and pet hair, which makes routine cleaning even more important. If your laundry area is in a garage or utility room with extra dust exposure, check the lint screen and vent path more often than the minimum recommended schedule.
How to Choose the Right Replacement Dryer Lint Screen
The safest choice is usually an original equipment manufacturer part, often called an OEM part. Quality aftermarket screens can work too, but they must match the dryer model exactly.
Use this quick comparison before buying:
| What to Check | Why It Matters | What to Do |
|---|---|---|
| Model number | Dryer parts vary by exact model | Match the full number on the appliance tag |
| Filter location | Top and door filters are shaped differently | Buy the same style as the original |
| Handle design | The handle helps the screen sit flush | Compare shape, height and angle |
| Frame tabs | Tabs keep the screen from lifting | Check that all locking edges match |
| Mesh attachment | Loose mesh lets lint bypass the filter | Avoid flimsy or poorly bonded screens |
If you are buying online, compare product photos carefully and read compatibility notes. If a listing says “fits most” without asking for the model number, be cautious. A lint screen needs a precise fit, not a general fit.
Maintenance Tips So the New Screen Keeps Fitting Properly
Once the new screen is installed, a few habits will help it last longer. Pull the screen straight out instead of twisting it by the handle. Clean lint after every load, and wash the screen occasionally if you use dryer sheets.
Do not slam the dryer door against a door-mounted filter, and avoid placing heavy objects on a top-mounted lint screen handle. Plastic frames can warp over time if they are stressed while hot.
It also helps to schedule deeper cleaning of the lint chute and vent. If the dryer still takes too long after the lint screen replacement, the issue may be farther downstream. Homeowners with stacked units or laundry centers may also want to review why washer and dryer problems can appear together, since shared power, venting and access issues can complicate troubleshooting.
When to Call a Dryer Repair Technician
Replacing a lint screen is a DIY-friendly job. Call a technician if the new screen will not seat, the chute is cracked, the dryer smells hot or the appliance keeps running longer than normal after the filter and vent are clean.
You should also stop using the dryer and get help if you notice burning smells, scorch marks around the lint screen, repeated overheating or a loud rattling sound near the blower area. These symptoms can point to lint buildup inside the cabinet, a restricted vent, a damaged blower wheel or another internal issue.
For Phoenix homeowners, a small lint screen problem can become more urgent during heavy laundry weeks, especially when high outdoor temperatures make garages and laundry rooms hotter. If the repair goes beyond the removable filter, professional diagnosis is safer than disassembling the dryer without the right tools or service information.
Frequently Asked Questions
Can I tape a dryer lint screen so it stays in place? No. Tape can loosen with heat, leave residue, block airflow or create a bigger lint trap. Replace the damaged screen or repair the chute instead.
Why does my lint screen pop out only when the dryer is running? Vibration can expose a poor fit. The screen may have a cracked tab, warped frame or incorrect part number, or the lint chute may be damaged.
Can I run the dryer without a lint screen for one load? It is not recommended. Lint can move into the blower housing, internal cabinet or vent, increasing cleaning needs and potential fire risk.
How often should I clean the dryer lint screen? Clean it after every load. Wash it with mild soap and warm water every few months if you use dryer sheets or notice a film on the mesh.
What if my replacement lint screen looks right but will not fit? Recheck the full dryer model number and part number. Similar lint screens can differ by small locking tabs or frame dimensions that affect fit.