In Phoenix, an ice maker that suddenly stops producing ice is rarely “random.” When outdoor temps soar, your refrigerator runs longer, the freezer struggles to hit target temperature, and small issues (a dusty condenser coil, a slightly leaky door gasket, a partially clogged water filter) can push the ice system over the edge.
This guide walks you through a practical troubleshooting flow tailored to Phoenix heat, so you can figure out what’s wrong, what’s safe to try yourself, and when it’s time to book service.
First: determine if this is an ice maker problem or a freezer temperature problem
An ice maker can’t make ice reliably unless the freezer is cold enough. Many units pause ice production automatically if the freezer is too warm.
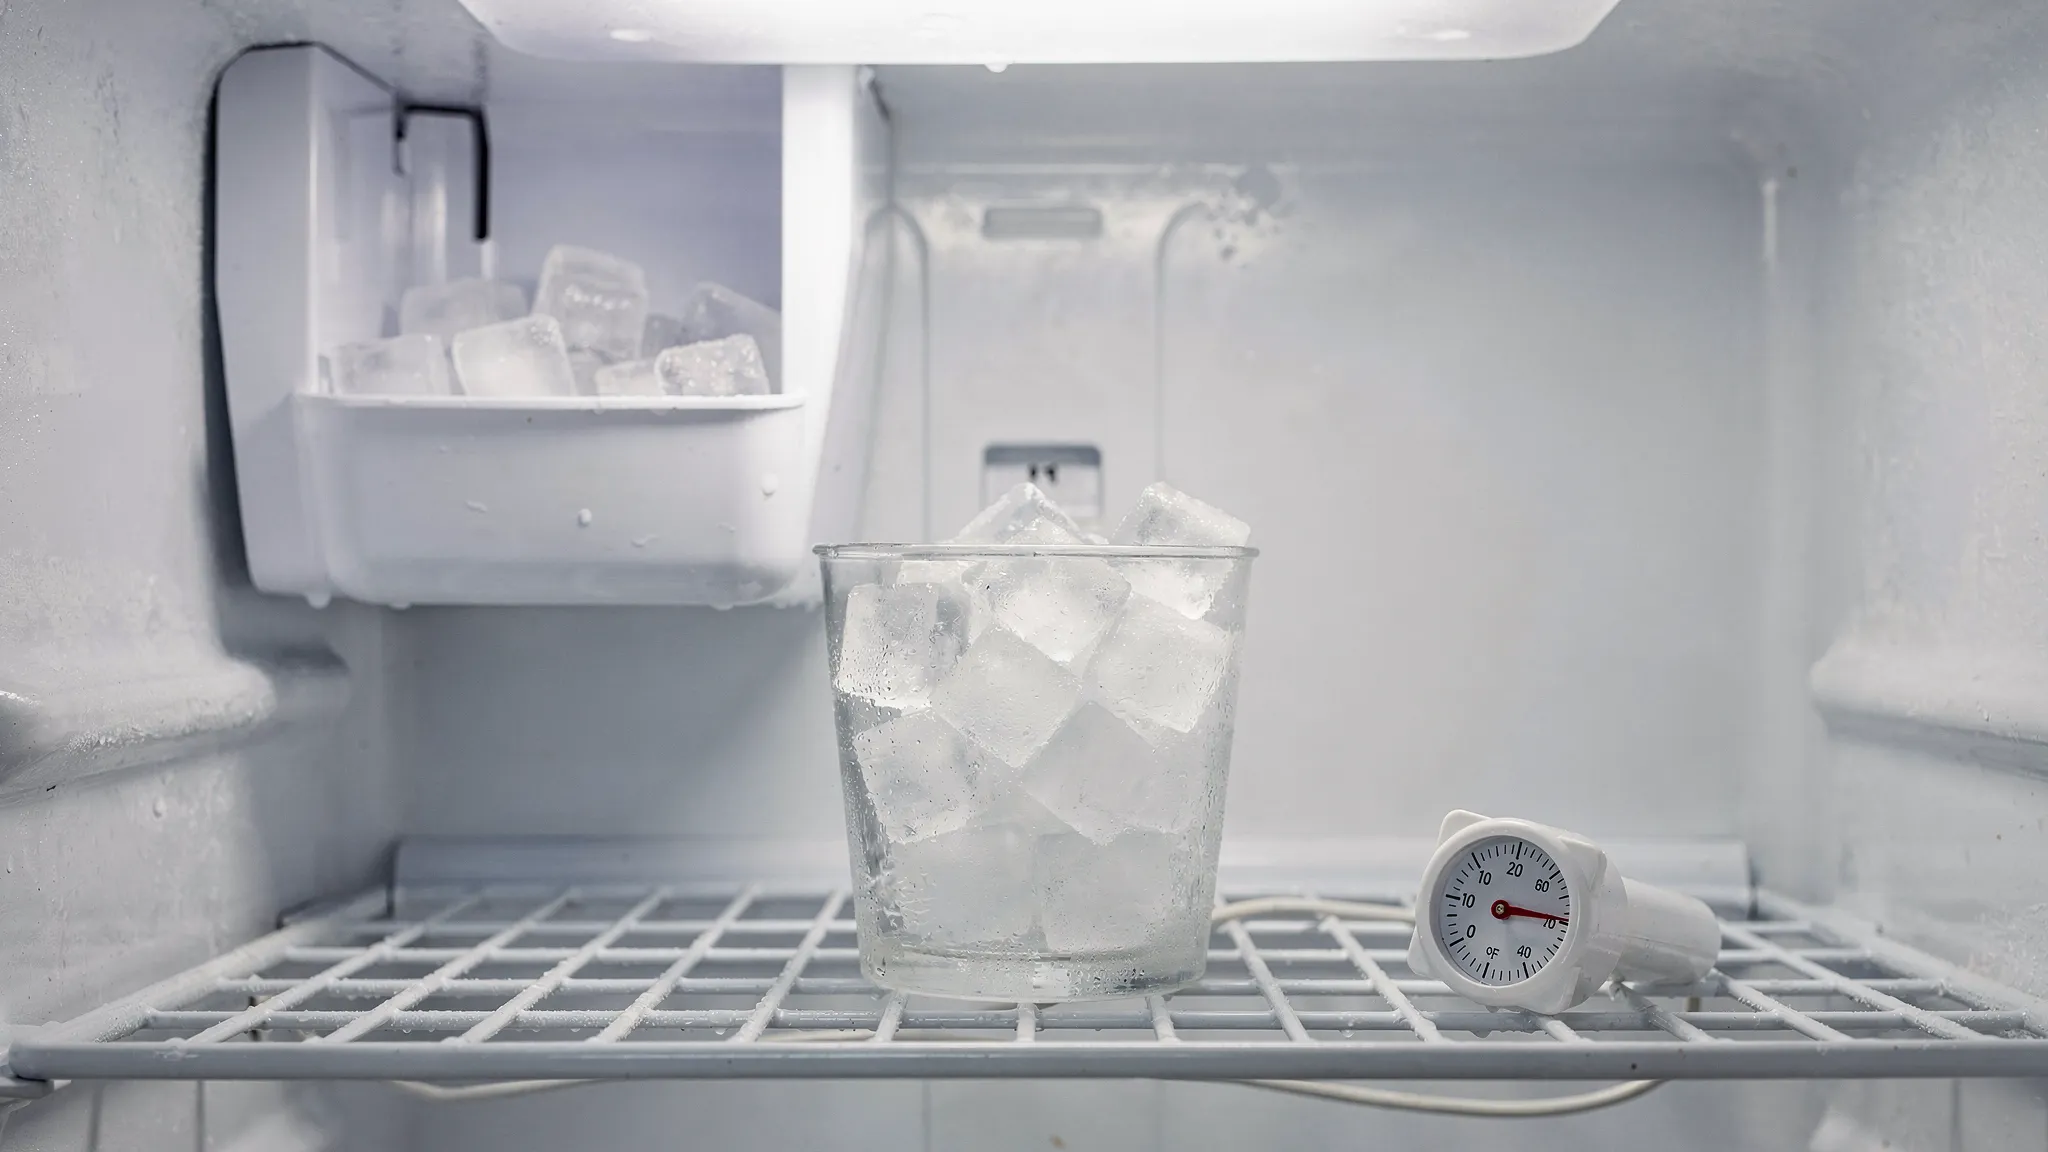
Target temperatures
- Freezer: 0°F
- Fresh food (fridge section): 40°F or below
Those targets align with widely cited food safety guidance, including the USDA’s refrigeration recommendations.
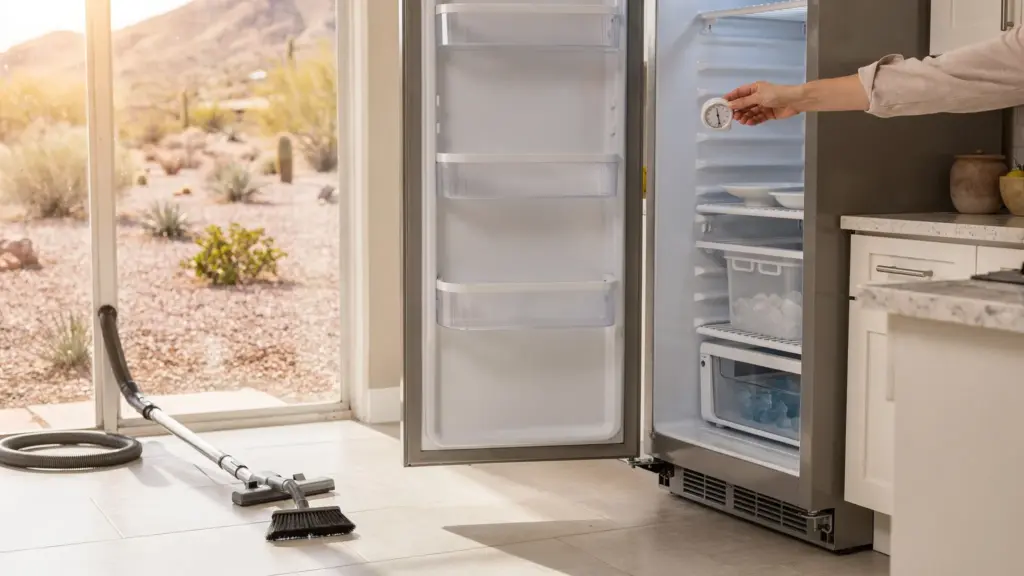
Quick check (2 minutes): Put an inexpensive thermometer in the freezer for 15 to 30 minutes.
- If you’re above ~10°F, treat this as a cooling/airflow issue first. Ice production will be slow or stop.
- If you’re near 0°F but still no ice, move on to water supply and ice maker-specific checks.
If you suspect broader cooling issues, these two guides can help you triage safely:
- What happens when your fridge stops cooling? Food safety timeline
- What causes a refrigerator to stop cooling? Top culprits
Phoenix heat makes a few ice maker failure modes more common
Here’s what Phoenix adds to the equation:
- Hot garages and tight alcoves: If your fridge sits in a garage or is shoved too close to the wall, the sealed system has to fight hotter air and can’t dump heat efficiently.
- Dust: Dust buildup on condenser coils can significantly reduce cooling efficiency, which shows up first as slow ice production.
- Hard water: Mineral scale can clog filters, inlet valve screens, or narrow tubing, reducing water flow into the ice maker.
- High use during summer: More door openings and warm groceries increase the freezer’s workload.
10-minute triage checklist (safe, no tools)
Before you pull the fridge out or order parts, do these quick checks.
Confirm the ice maker is actually “on”
Common “oops” settings:
- Ice maker toggle switched off
- Ice maker shutoff arm stuck in the up position (older styles)
- “Ice Off” or “Lock” enabled on the dispenser panel
Check the bin and chute for jams
- If cubes are clumped, dump the bin, dry it, and restart.
- If the dispenser chute is iced up, the door flap may not be sealing.
Verify the freezer isn’t overpacked
Blocked vents can prevent cold air from circulating around the ice maker.
Look for obvious water issues
- No water at the dispenser (if you have one) often points to a supply, filter, or valve problem.
- Wet floor behind the fridge suggests a loose fitting or cracked water line.
Symptom-to-cause cheat sheet (Phoenix edition)
Use this table to narrow your next step.
| What you notice | Likely cause | Best first check |
|---|---|---|
| Ice maker stopped and freezer feels “not that cold” | Freezer not reaching 0°F (heat load, dirty coils, airflow issue) | Measure freezer temp, check vents, clean condenser area |
| No ice and no water from dispenser | Supply shutoff closed, kinked line, clogged filter, failed inlet valve | Confirm valve is open, inspect line, replace filter |
| Tiny/hollow cubes or very slow production | Low water flow (filter, pressure, scale) or warm freezer | Replace filter, check supply line, confirm freezer temp |
| Ice maker cycles but no cubes form | Frozen fill tube or inlet valve not filling | Inspect fill tube for ice blockage |
| Ice clumps in bin, frost near door | Door gasket leak or door not closing squarely | Do a gasket seal test, check leveling |
| Works in winter but fails in summer | Marginal cooling performance exposed by Phoenix heat | Clean coils, improve ventilation, consider service |
Step-by-step troubleshooting (in the order that saves you the most time)
Step 1: Fix the “freezer is too warm” causes
If you’re not close to 0°F, address these items first.
Clean airflow paths and reduce heat load
- Make sure interior vents aren’t blocked.
- Minimize door opening while troubleshooting.
- If the fridge is in a garage, keep the garage as cool as practical during peak heat.
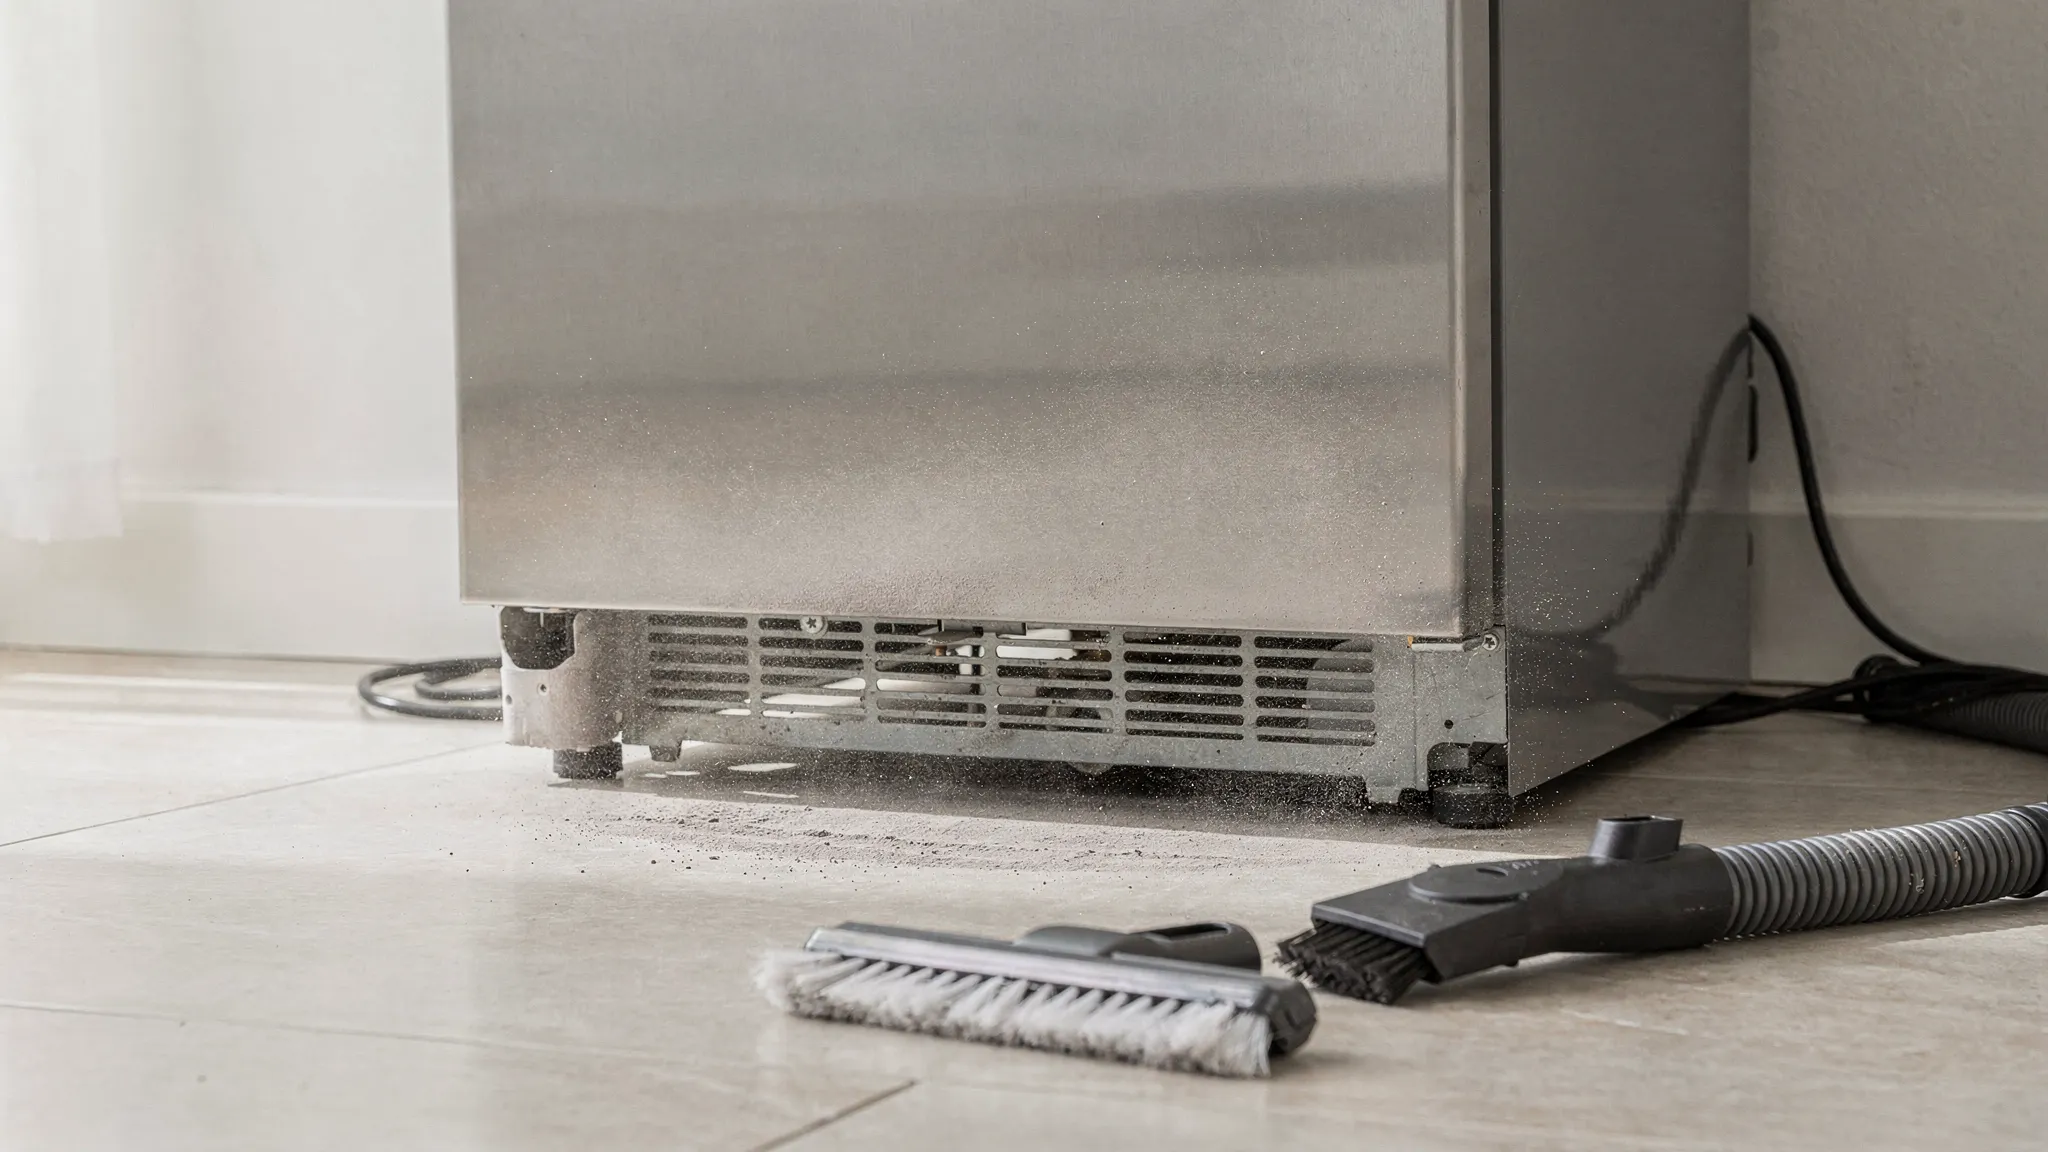
Check condenser coil and ventilation basics
Phoenix dust is brutal on condenser areas. Even if you can’t fully deep-clean, you can often remove enough debris to improve performance.
If you want a safe DIY framework for refrigerator checks (including coils and airflow), use this: Refrigerator repair how to: safe DIY steps to try first
Step 2: Confirm water is reaching the refrigerator
If your freezer is cold enough but there’s no ice, the next most common problem is simply “no water flow.”
Check the shutoff valve and line
- Confirm the household shutoff valve is fully open.
- Pull the fridge carefully and check for a kinked or crushed supply line.
Replace the water filter (especially in hard water areas)
A clogged filter can reduce flow enough that the ice maker makes small cubes or stops.
Tips:
- If your filter is overdue, replace it first.
- After replacement, dispense several cups of water (if your fridge has a dispenser) to purge air.
Consider water pressure and restrictions
If you have very weak flow at the dispenser, you may have a restriction upstream (valve, filter housing, saddle valve, or mineral buildup). Many manufacturers specify a minimum water pressure for ice makers, and insufficient pressure can cause intermittent filling.
Step 3: Check the ice maker fill tube for freezing
A classic scenario in Phoenix is a freezer that is “cold enough” but airflow is uneven, causing the ice maker fill tube to freeze.
What to look for:
- A small plastic tube feeding the ice maker has a visible ice plug.
Safe DIY move:
- Unplug the refrigerator.
- Use gentle warming (like a hair dryer on low, kept moving and not too close) to melt the ice. Avoid overheating plastic parts.
If the fill tube refreezes within days, the root cause is often a water inlet valve that seeps, a temperature/airflow problem, or a door seal issue.
Step 4: Do a door gasket reality check (it matters more in Phoenix)
A slightly leaking door gasket can be survivable in mild climates, but in Phoenix it can mean constant compressor run time, frost, and poor ice production.
Quick checks:
- Look for condensation, frost near the ice maker area, or a door that doesn’t “pull shut.”
- Try a simple seal test (paper or flashlight) around the perimeter.
For deeper steps, see:
- Refrigerator door seal: signs it’s failing and why
- Refrigerator door seal repair: stop leaks and frost
Step 5: Reset or cycle the ice maker (model-dependent)
Many ice makers have a reset/test button or a manual “cycle” procedure. Because steps vary by brand and model, use your unit’s tech sheet (often behind the toe-kick grille or inside a service pocket) or the owner’s manual.
General guidance:
- If your unit has a reset button, press and hold as directed.
- If you hear a cycle but no water fill at the right moment, that points back to water supply/inlet valve/frozen tube.
Step 6: Watch for these “call a pro” flags
Stop DIY troubleshooting and book service if you notice:
- Freezer won’t get near 0°F even after basic cleaning and airflow fixes
- Repeated tripped breaker or burning smell
- Water leaking from hidden areas (risk of floor damage)
- Loud buzzing/humming at the back when the ice maker tries to fill (often valve-related)
- You suspect a sealed-system or control board issue
If you need fast options during extreme heat, this guide helps you set expectations and prepare for a same-day visit: Kitchen appliance repair near me: same-day options
What a technician will typically check (and why it’s faster than guessing)
When you call a pro for an ice maker issue, a solid diagnostic usually includes:
- Confirming actual freezer temperature with a calibrated meter
- Checking water flow rate and verifying the inlet valve is energizing
- Inspecting for fill tube freezing and valve seepage
- Evaluating door seal leaks and frost patterns
- Checking fan operation and coil condition if cooling is marginal
If you’re weighing cost versus replacement or want to understand how quotes are built, these are useful references:
- Appliance repair costs: service fees vs parts explained
- Refrigerator repair cost in Phoenix: real prices from local experts
Prevention tips that actually help in Phoenix summers
A few habits reduce mid-summer ice maker failures:
- Clean the condenser area regularly during dusty months.
- Leave breathing room behind and above the refrigerator if possible.
- Replace filters on schedule, especially with hard water.
- Keep the freezer reasonably full (but not blocking vents). A fuller freezer holds temperature better.
- Avoid frequent door “grazing.” Every warm-air blast adds frost load and slows ice production.
Frequently Asked Questions
Why does my ice maker stop working when it’s really hot in Phoenix? Extreme heat makes your refrigerator work harder to maintain 0°F in the freezer. If the freezer runs warm, many ice makers slow down or stop to prevent poor ice quality.
What freezer temperature is needed for an ice maker to make ice? Most ice makers perform best when the freezer is around 0°F. If you’re consistently above about 10°F, ice production often drops sharply.
My freezer is cold but I still have no ice. What’s the most common cause? After temperature, the most common causes are water flow issues (a clogged filter, kinked water line, or a weak/failing inlet valve) and a frozen fill tube.
Can a bad refrigerator door seal stop ice production? Yes. A leaking gasket lets warm, humid air in, which increases frost and can keep temperatures from staying stable enough for consistent ice making.
When should I call for same-day refrigerator service? If the freezer cannot stay cold enough (food safety risk), you see leaking water, or you suspect a major cooling failure, same-day service is often worth it in Phoenix heat.
Need help deciding whether to DIY or book service?
If you’ve confirmed your freezer temperature is good, replaced an overdue filter, and still aren’t getting ice, it’s usually time to stop guessing and get a diagnosis. Use this checklist-style guide to avoid wasting money on the wrong fix: Home appliance repair near me: how to vet a tech.