
A microwave that runs, lights up, and spins, but won’t heat food is one of the most confusing appliance problems because it feels like it’s working. In reality, heating depends on a separate high-voltage system, and when that system is interrupted (or the microwave is intentionally preventing it for safety), you get a “no heat” symptom.
This guide focuses on common causes of a microwave not heating and the safe DIY checks you can do without opening the outer cabinet. That last part matters because microwaves contain high-voltage components that can store a dangerous charge even after the unit is unplugged.
Confirm the symptom (a 2-minute test that prevents wild goose chases)
Before troubleshooting, verify it’s truly a heat problem, not cookware, settings, or expectations.
- Do the water-cup test: Microwave 1 cup of cool tap water in a microwave-safe mug for 60 seconds.
- Normal result: noticeably hot water, steam may be visible.
- “Not heating” result: barely warm or unchanged.
If you were testing with very small portions (like a spoonful of sauce), or with thick/frozen food, the result can be misleading. Water gives a consistent baseline.
Safety rules (what’s safe DIY vs what’s not)
Microwaves are not like toasters or blenders. The high-voltage capacitor can retain a charge after unplugging, and DIY internal work creates shock risk.
Safe DIY (recommended):
- Checks that don’t require removing the outer cover
- Cleaning, filter maintenance, outlet and breaker checks
- Inspecting the cooking cavity (interior) for obvious damage like a burned waveguide cover
Not safe DIY (leave to a technician):
- Removing the outer cabinet
- Testing or replacing: magnetron, high-voltage diode, capacitor, transformer, inverter board, internal fuses, door interlock switches
For additional context on microwave radiation safety and why door/interlock systems matter, the FDA’s microwave oven safety guidance is a reliable reference.
The most common reasons a microwave runs but doesn’t heat
1) Power level, mode, or “Demo” setting is blocking heat
This is more common than people think, especially after a power outage or if someone bumped settings.
Check these first:
- Power level: If it’s set to 10% to 30%, the microwave may sound normal but barely warm anything.
- Timer vs cook time: Some models allow a timer countdown that does not energize heating.
- Demo mode: Many countertop and over-the-range models have a showroom mode where the display and fan work but heating is disabled.
If you search your model number plus “demo mode,” you can usually find the exact toggle sequence in the manual.
2) The door is not fully closing, or the latch area is dirty
Microwaves use multiple door interlock switches to prevent heating when the door is open or misaligned. If the door doesn’t close cleanly, the unit may “run” but never energize the magnetron.
Safe DIY checks:
- Inspect the latch hooks on the door for cracks or looseness.
- Wipe the latch/strike area on the cabinet (food splatter can interfere with closure).
- Confirm the door closes solidly without needing to lift, push, or slam.
If the door is visibly warped, hinges are loose, or the latch feels sloppy, stop using it and get it checked. A door that doesn’t close correctly is both a heating and safety concern.
3) The microwave overheated and tripped a thermal protector
Over-the-range microwaves and built-ins can overheat if airflow is restricted. In Phoenix kitchens, heavy cooking, high ambient heat, and greasy filters can push a marginal ventilation setup over the edge.
Signs this may be the issue:
- It stopped heating mid-cook, then “worked again” later.
- The fan sounds strained, or the unit feels unusually hot on the outside.
Safe DIY steps:
- Unplug the microwave (or switch off the breaker if hardwired) and let it cool for 30 to 60 minutes.
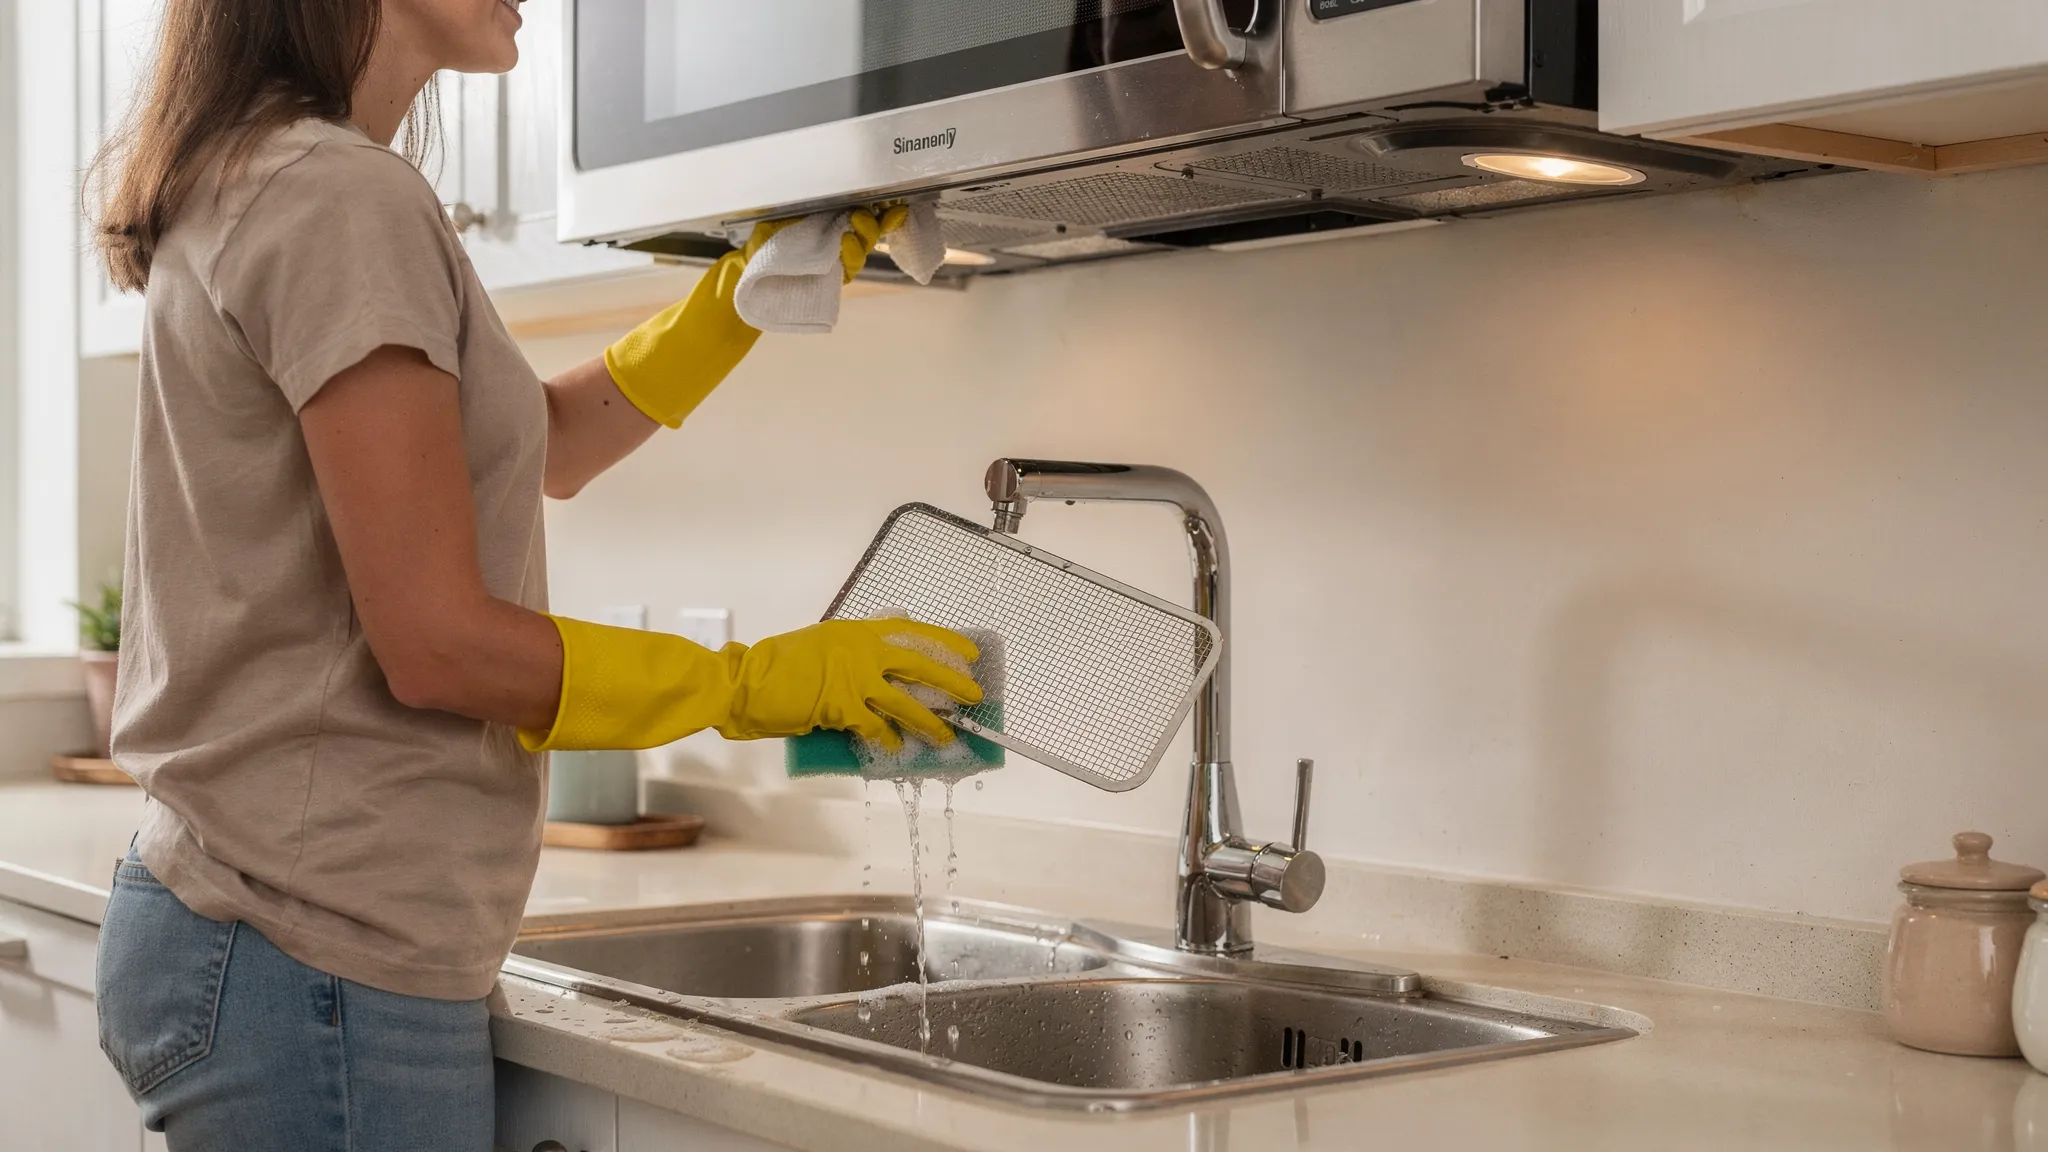
- For over-the-range models, remove and wash the grease filters (usually they slide out from the bottom). Let them dry fully before reinstalling.
- Make sure exterior vents are not blocked.
If overheating repeats, don’t keep “resetting” it. Repeated thermal trips can indicate a failing fan, failing sensor, or an airflow problem that needs service.
4) The outlet, breaker, or GFCI is causing low or unstable power
A microwave can light up and spin with imperfect power, but heating draws significantly more load.
Safe DIY checks:
- Plug a lamp or small appliance into the same outlet to confirm steady power.
- Check for a tripped GFCI outlet in the kitchen (or nearby) that controls that circuit.
- Avoid extension cords and power strips for microwaves.
If the microwave trips a breaker when you start cooking, that’s a “stop and call” sign. It can indicate an internal short, a failing high-voltage component, or an overloaded circuit.
5) A damaged waveguide cover (mica cover) is causing arcing and no heat
Inside the cooking cavity, many microwaves have a small rectangular cover (often a thin mica sheet) that protects the waveguide.
If that cover is burned, greasy, or cracked, you may see:
- Sparks or “lightning” inside the microwave
- Burning smell
- Loud buzzing
- Weak or no heat
Safe DIY checks:
- Unplug the unit.
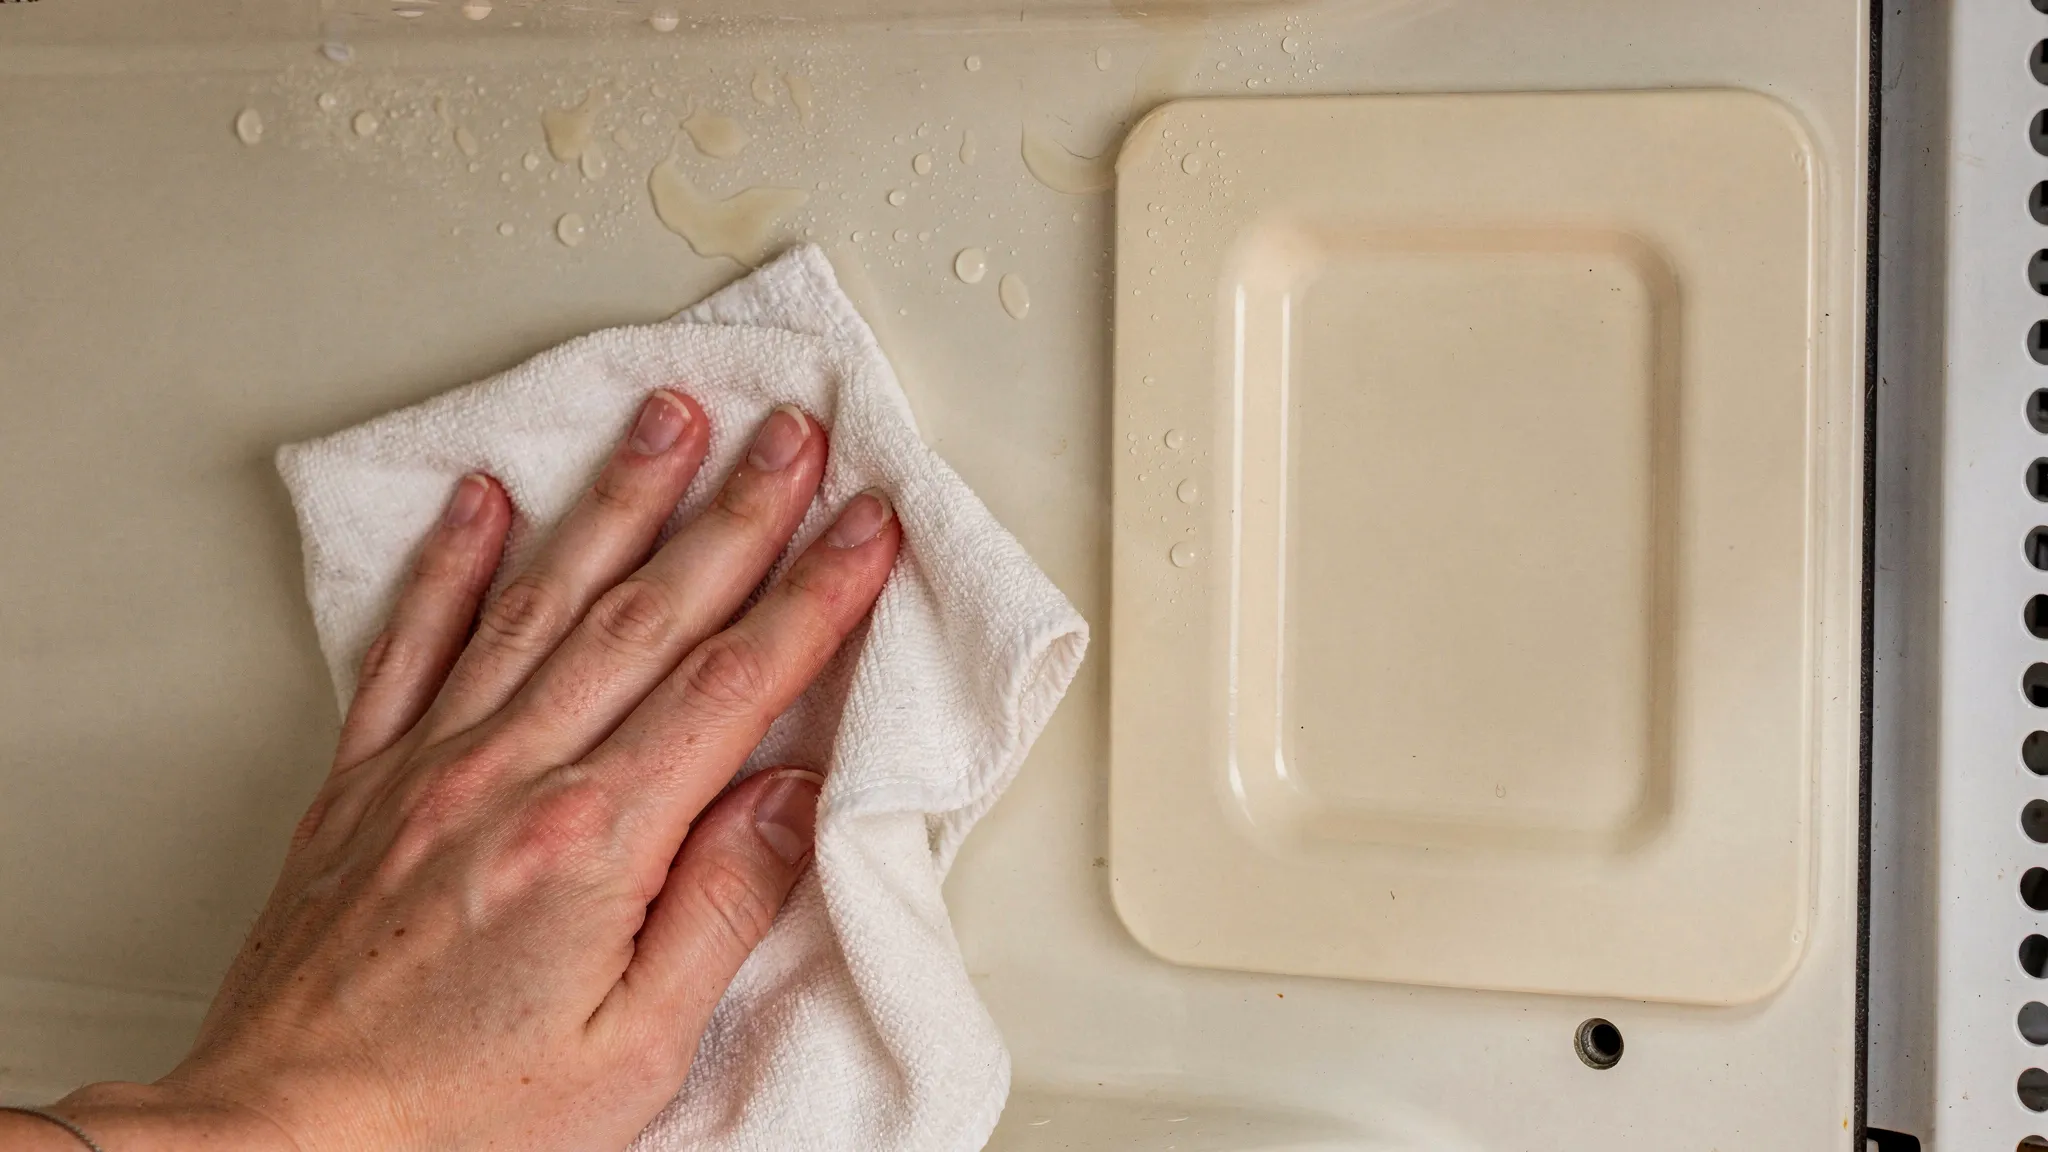
- Look at the interior walls for a charred or bubbled waveguide cover.
- If it’s greasy, gently clean with mild soap and water, then dry completely.
If it’s burned through, replacement is usually straightforward on many models (it typically screws or clips in). Do not continue to run the microwave if you see arcing.
6) High-voltage system failures (common, not DIY)
If your settings and door are fine, and power is stable, the most common “true no-heat” causes are in the high-voltage section:
- Magnetron failure
- High-voltage diode failure
- Capacitor failure
- Transformer failure (older designs)
- Inverter board failure (many newer designs)
These parts are not safe for DIY testing or replacement unless you have professional training and proper safety procedures.
7) Control board or relay failure (not DIY)
Sometimes the microwave is “running,” but the control board is not sending power to the high-voltage system due to:
- A failed relay
- A burned solder joint
- A control board fault
Technicians typically confirm this with electrical tests and inspection. It’s usually not something you can diagnose safely from the outside.
Quick symptom-to-cause cheat sheet (safe actions only)
| What you notice | Likely cause(s) | What you can safely do | When to stop and call a pro |
|---|---|---|---|
| Runs normally, no heat at all | Demo mode, door switch issue, HV failure | Check power level, timer vs cook, demo mode, door closure | If settings are correct and still no heat |
| Heats sometimes, then stops | Overheating, failing fan, thermal protector | Clean grease filters, improve airflow, let it cool | If it repeats or smells hot/burnt |
| Loud hum or buzzing, no heat | Magnetron, HV diode/capacitor, arcing | Stop using it, inspect for arcing marks in cavity | Immediately, especially with burning smell |
| Sparks inside the cavity | Waveguide cover damage, metal, foil, splatter | Remove metal, clean splatter, inspect waveguide cover | If arcing continues or cover is burned |
| Trips breaker when cooking starts | Shorted HV part, wiring issue, overloaded circuit | Try a different dedicated outlet only if safe | Immediately if it repeats |
| Display works, but cook cycle seems “weak” | Low power setting, sensor behavior, line voltage issue | Confirm power level, test with 1 cup water | If it consistently underheats |
Safe DIY steps in a practical order (10 to 20 minutes)
Step 1: Reset it correctly
- Unplug for 2 to 3 minutes.
- Plug back directly into a wall outlet.
- Re-test with the 1-cup water method.
This can clear a minor control glitch.
Step 2: Eliminate settings issues
- Set to 100% power.
- Use a basic manual cook cycle (not sensor reheat).
- Confirm you are not in demo mode.
Step 3: Check the door closes like it should
- Clean the latch area.
- Look for obvious physical damage.
- Do not slam the door to “make it work.” If slamming changes behavior, that often points to an interlock or alignment issue.
Step 4: Check ventilation (especially over-the-range units)
- Remove and wash grease filters.
- Confirm the vent path is not blocked.
Step 5: Inspect the interior for arcing causes
- Remove any metal rack (if present) and retest.
- Check for foil, twist ties, or gold-trimmed dishware.
- Inspect the waveguide cover and surrounding area for burn marks.
If you see charring or repeated sparks, stop using the unit until it’s repaired.
When it’s time to stop DIY (important)
Call for service (or replace the unit) if you notice any of the following:
- Burning smell, smoke, or visible arcing
- Loud electrical buzzing/humming that wasn’t there before
- The door is damaged, doesn’t align, or doesn’t close firmly
- The microwave trips the breaker when heating starts
- No heat after all safe checks (water test still fails)
If you need urgent help for a cooking appliance in the Phoenix area, this guide on same-day kitchen appliance repair options can help you understand what “same-day” typically means and how to triage safely while you wait.
What a technician will check (and what to document to speed it up)
A qualified appliance tech will typically verify:
- Door interlock switch operation
- Internal thermal fuse and thermal cutoffs
- Magnetron and high-voltage system performance
- Control board output to the high-voltage system
- Line voltage under load
To make the visit more efficient, write down:
- Your model and serial number
- Whether it’s countertop, built-in, or over-the-range
- Results of the 1-cup water test (time and outcome)
- Any symptoms like arcing, odors, breaker trips, or intermittent heating
If you’re comparing providers, use this practical checklist on how to vet an appliance repair tech. For understanding estimates, diagnostics, and why quotes vary, see service fees vs parts explained.
Prevent “no heat” problems going forward
Most microwaves fail from a mix of heat stress, grease, slamming the door, and running cycles that strain components.
A few habits that help:
- Keep it clean inside, especially around the waveguide cover area.
- Don’t run it empty, which can increase stress on the magnetron.
- Let steam escape from covered containers to reduce condensation and mess.
- For over-the-range models, wash grease filters regularly.
- Close the door gently, repeated door slams can damage latch parts and interlocks.
If you want to build simple routines that reduce appliance breakdowns in Phoenix’s heat and dust, the seasonal checklist in home appliance servicing is a solid place to start.