
When a refrigerator acts up in Phoenix, it is not just inconvenient. In extreme heat, a small airflow or maintenance issue can quickly turn into spoiled food and an overworked compressor. The good news is that many “refrigerator repair” calls start with problems you can safely check in 20 to 60 minutes, without special tools or opening sealed refrigeration components.
This guide walks through safe DIY steps to try first, then shows you the clear lines for when to stop and call a technician.
Safety first (read this before touching anything)
Refrigerators combine electricity, moving parts, sharp metal, and sometimes water. A few basics keep DIY troubleshooting safe.
- Unplug the refrigerator before cleaning coils, moving it, inspecting fans, or touching wiring.
- Protect floors and hands: wear work gloves, and keep towels ready for dust and water.
- Avoid sealed-system work: do not attempt refrigerant work, compressor replacement, brazing, or “recharge kits.” These are not safe DIY tasks and often illegal without certification.
- If you smell burning plastic or see arcing, stop immediately and unplug (or shut off the breaker if unplugging is unsafe).
Food safety note: The FDA recommends keeping the refrigerator at 40°F (4°C) or below and the freezer at 0°F (-18°C). If your fridge has been above 40°F for more than 2 hours, perishable foods may be unsafe. See the FDA refrigerator temperature guidance.
Quick tools that help (optional but useful)
You can do most checks with household items, but these make it faster:
- Flashlight
- Vacuum with brush attachment
- Coil-cleaning brush (inexpensive)
- Bubble level
- Appliance thermometer (or two, one for fridge and one for freezer)
Step 1: Check power and settings (the “no tools” win)
If the refrigerator is completely dead (no lights, no display, no sound), start here.
What to check
- Outlet power: plug in a lamp or phone charger.
- Breaker or GFCI: kitchens, garages, and laundry rooms may be GFCI-protected.
- Power cord: look for damage or a loose connection.
- Controls: confirm it is not in “Cooling Off,” “Demo,” or “Showroom” mode (names vary by brand).
If the unit is running but not cooling, still confirm the temperature settings are reasonable:
- Refrigerator setpoint: 37 to 40°F (3 to 4°C)
- Freezer setpoint: 0°F (-18°C)
Step 2: Do a safe “soft reset”
Many modern fridges have control boards that can glitch after a power event.
- Unplug the refrigerator (or switch off the breaker).
- Wait 5 minutes.
- Plug it back in.
If it starts cooling normally again, keep monitoring temperatures for the next 24 hours.
Step 3: Fix airflow and heat load problems (especially common in Phoenix)
In Phoenix, refrigerators fight higher ambient temperatures, dusty air, and sometimes garage installs. Airflow issues are among the most common causes of poor cooling and long run times.
Check clearance and ventilation
- Make sure there is space behind and above the fridge for heat to escape.
- Do not block toe-kick vents (often at the bottom front).
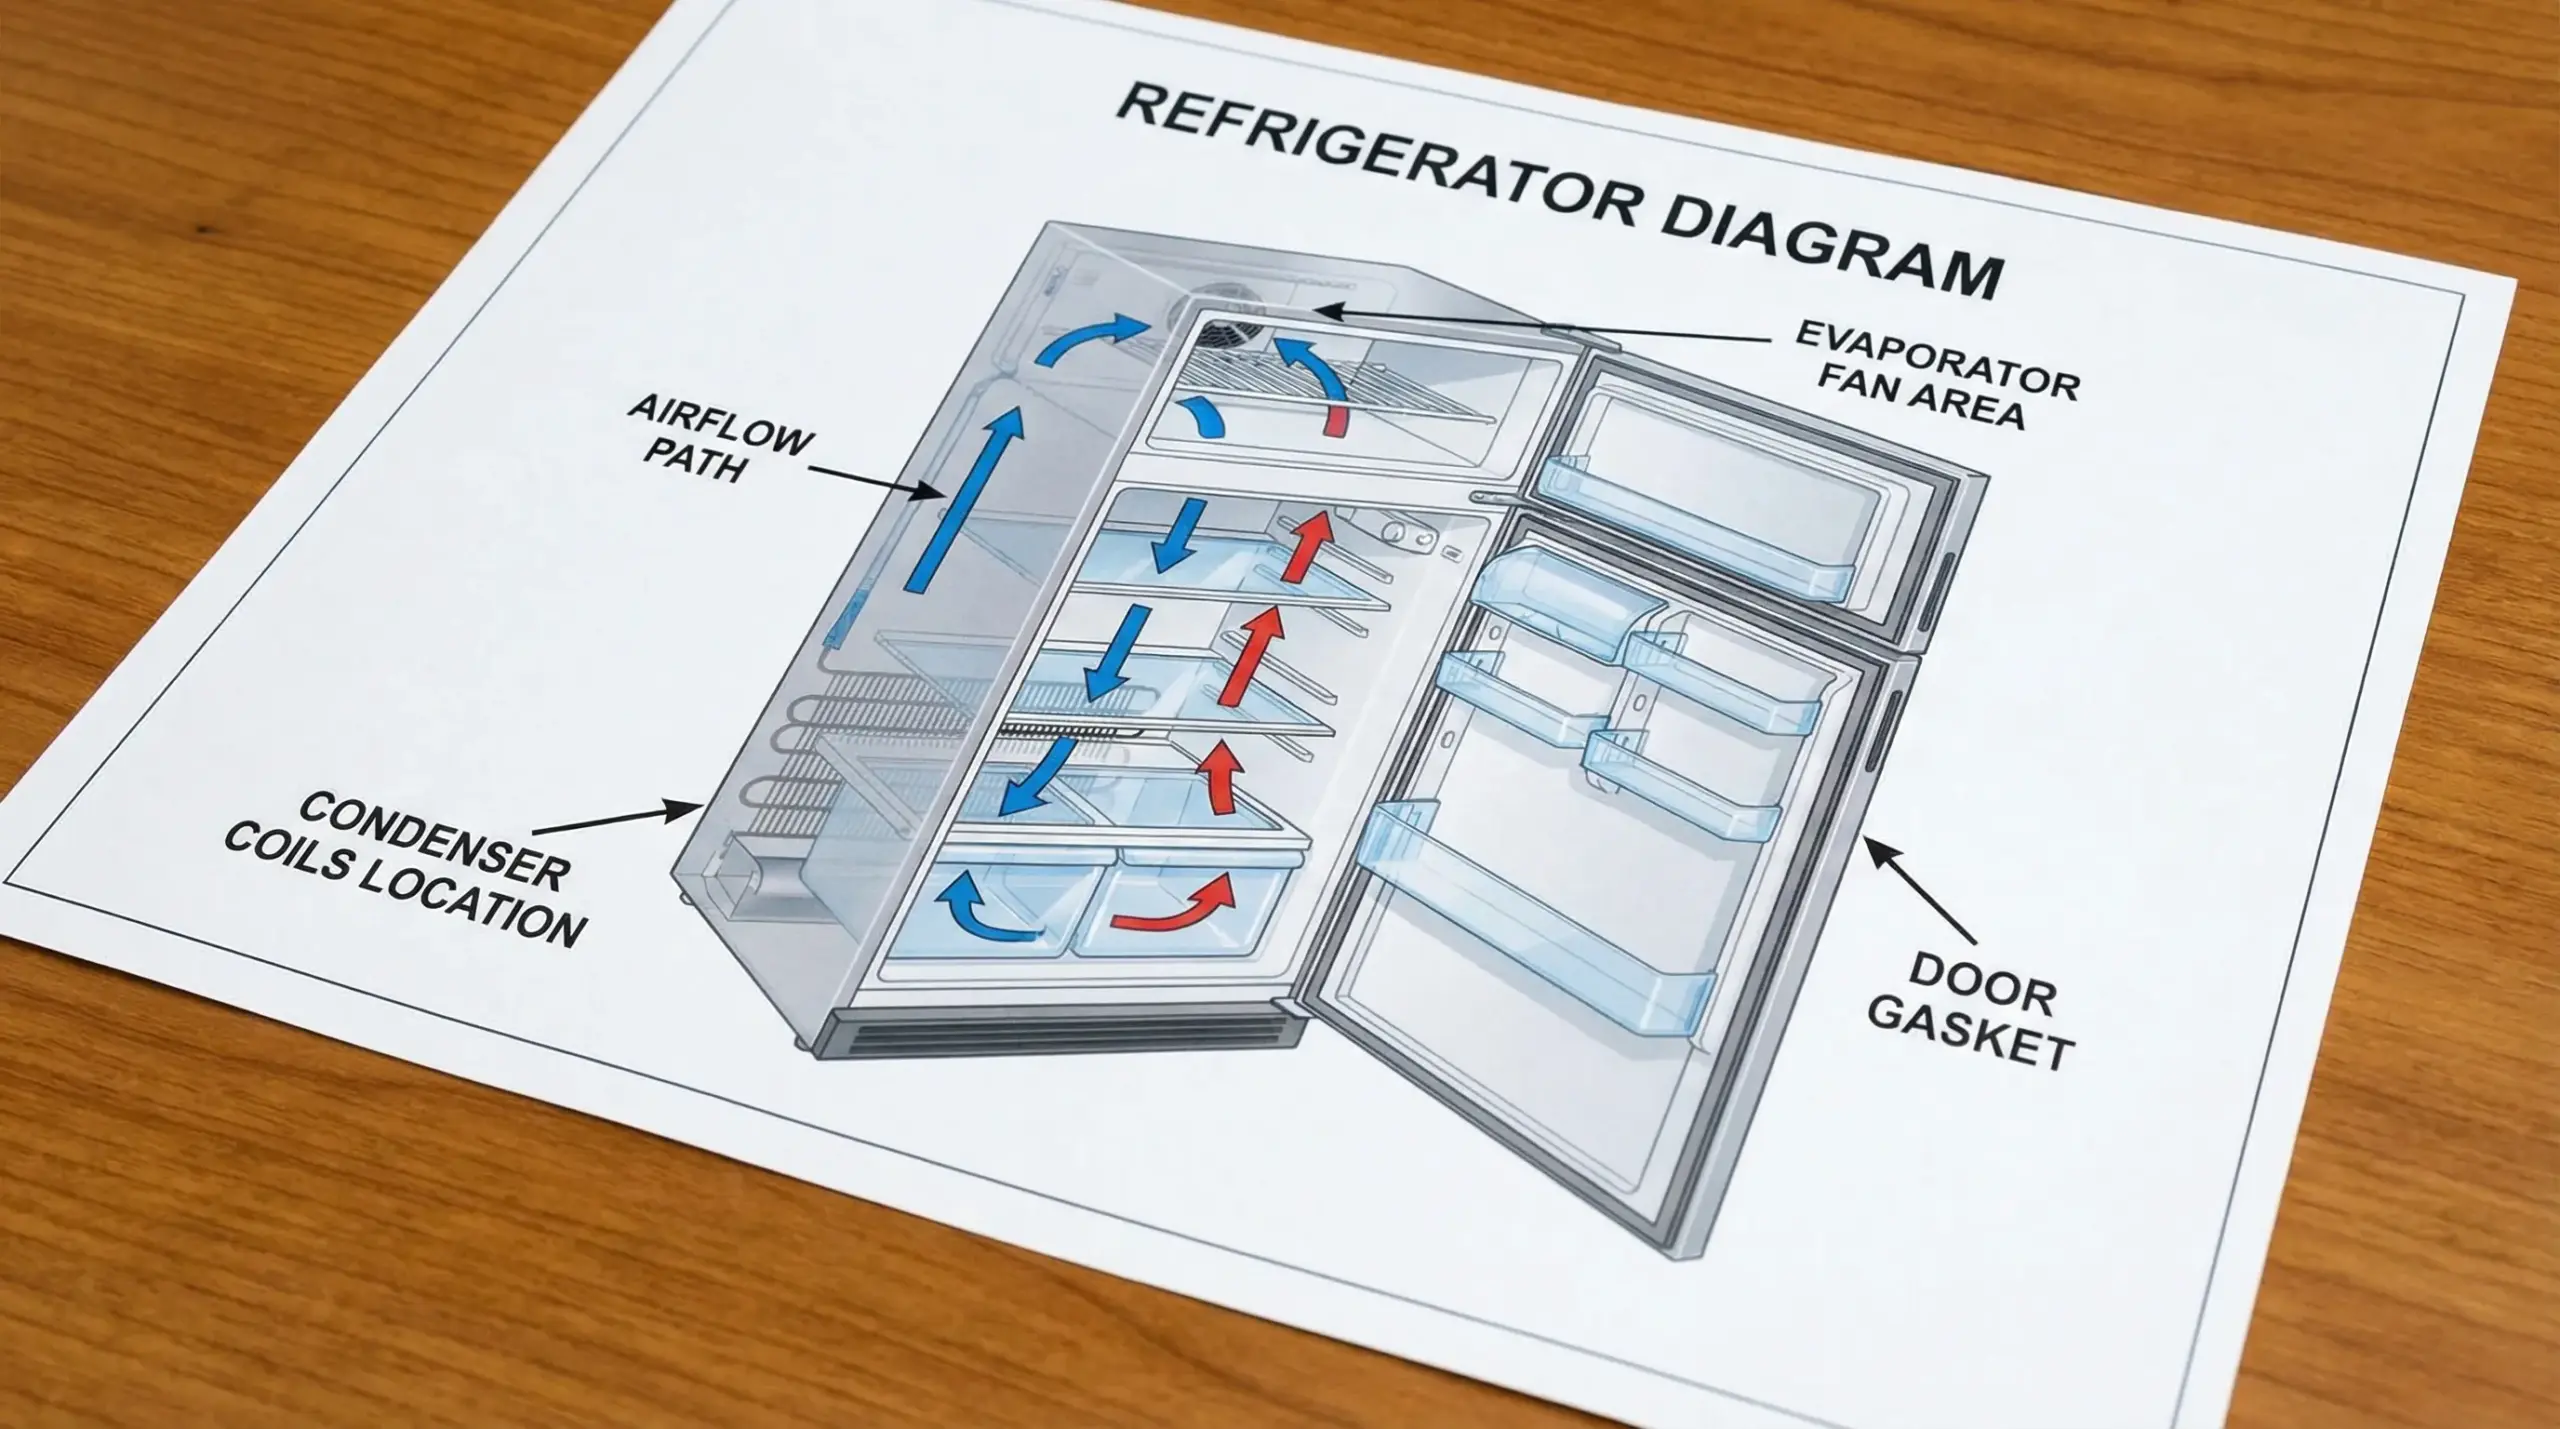
Check interior airflow
- Do not pack food tightly against interior vents.
- If your fridge has a circulating fan, you should usually hear a soft fan sound when the door is closed.
Garage fridge reality check
If the unit is in a garage, it may struggle during high-heat periods.
- If the garage routinely exceeds 100°F+, cooling performance can drop.
- Some models are not designed for extreme ambient swings.
If a garage fridge cannot maintain safe temperatures during hot spells even after maintenance, that is a strong sign to consult a pro about options (repair, relocation, or replacement).
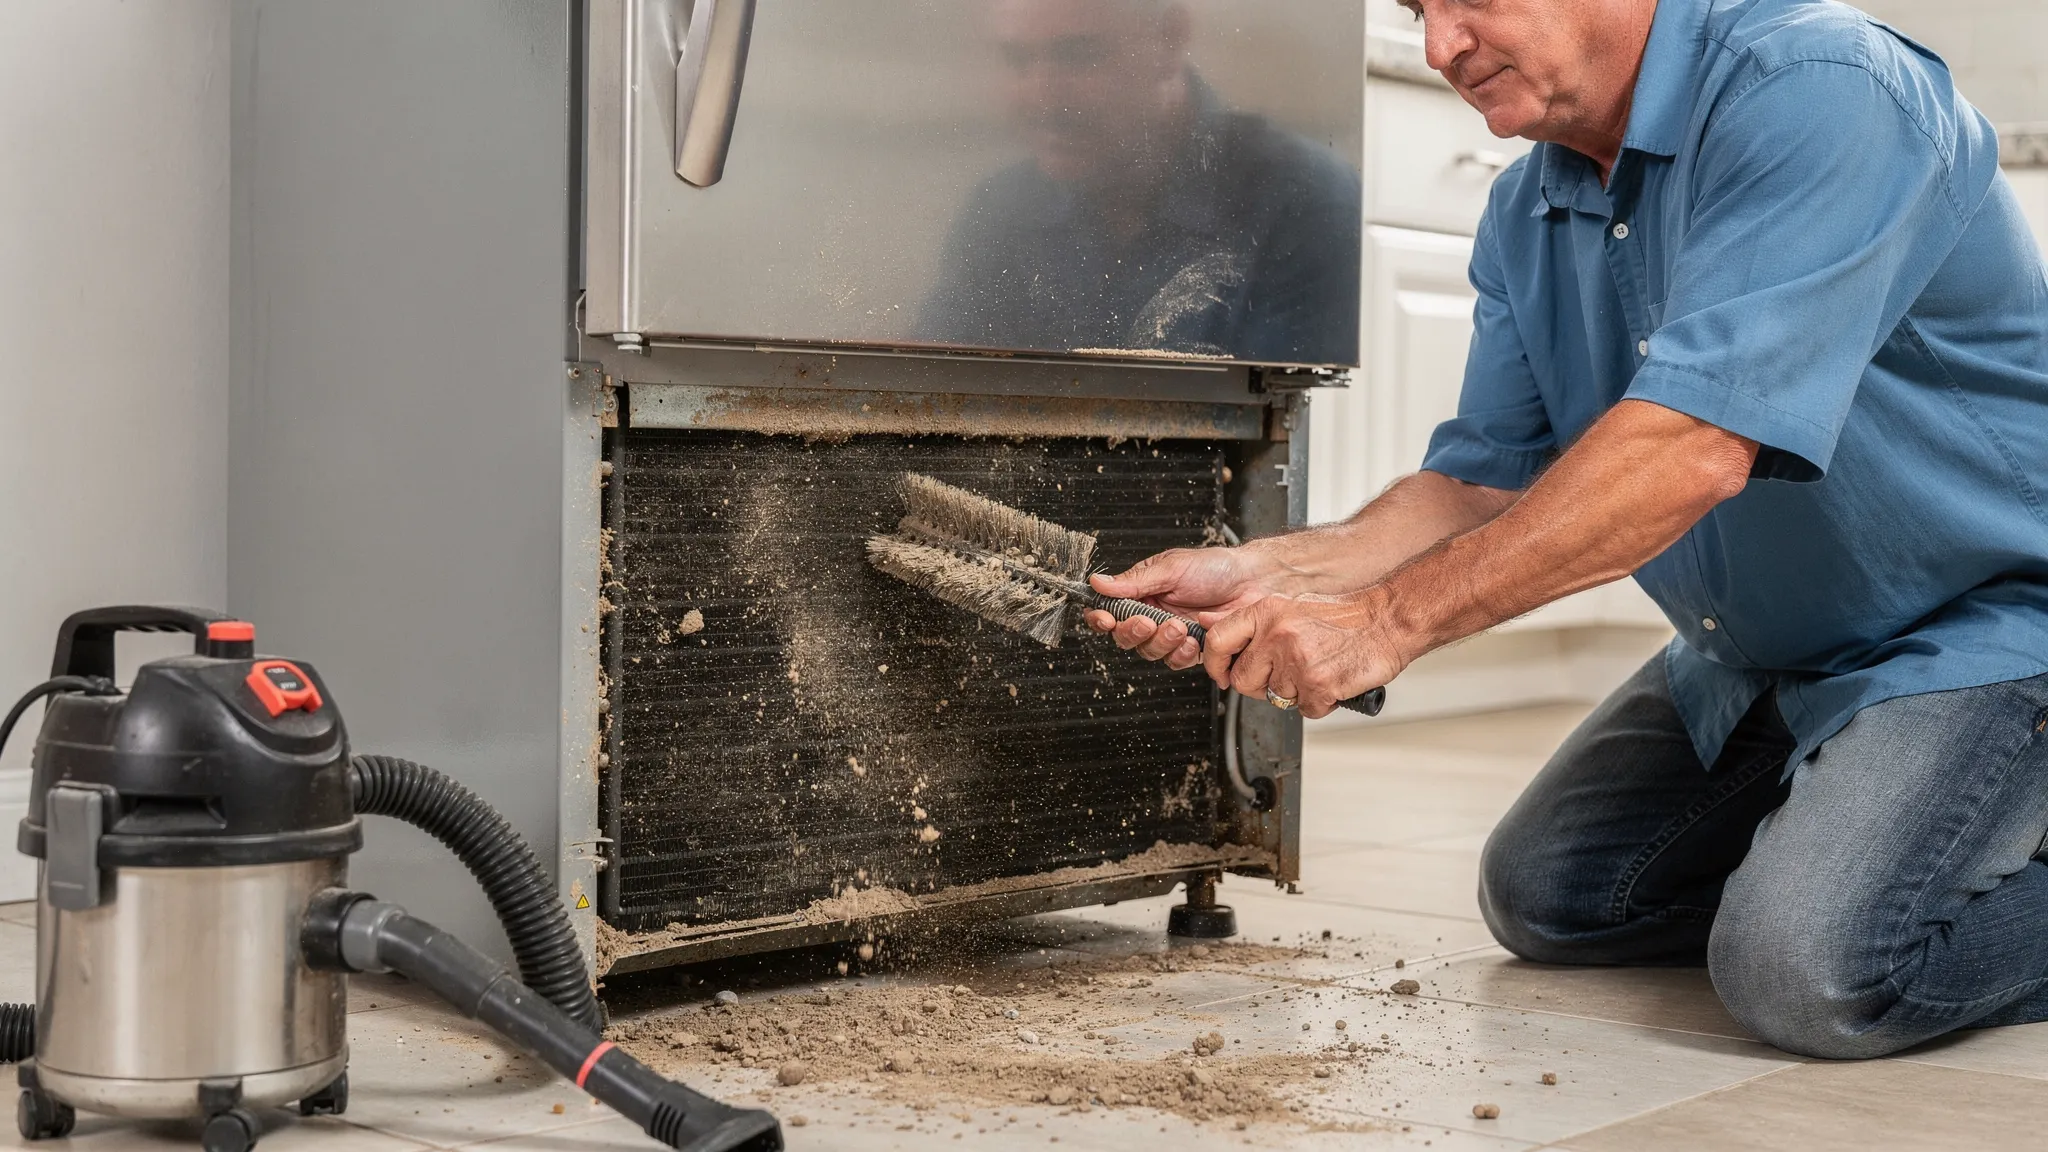
Step 4: Clean condenser coils (high impact, low risk)
Dirty condenser coils are a classic cause of:
- Warm fridge temperatures
- Freezer works “okay” but fridge is warm
- Long run times
- Higher energy use
Phoenix dust and pet hair can mat coils fast.
How to clean coils safely
- Unplug the refrigerator.
- Locate the coils (behind the unit or under the front/bottom depending on model).
- Use a coil brush to loosen debris.
- Vacuum the loosened dust (avoid pushing debris deeper).
- Reinstall any access panels.
Then plug it back in and monitor temperatures.
Step 5: Check the door seal (gasket) and door alignment
A poor seal lets hot air leak in constantly, creating frost, condensation, and nonstop running.
Quick gasket tests
- Visual inspection: look for rips, hardened sections, gaps, or warping.
- Dollar-bill test: close the door on a bill and pull. If it slides out easily in multiple spots, the seal may be weak.
Easy fixes you can try
- Clean the gasket with warm water and mild dish soap, then dry.
- Remove items that prevent full door closure.
- Check leveling (next step) to improve door swing and closure.
If the gasket is torn or deformed, replacement is usually straightforward but model-specific. If you are not confident ordering the correct part, a technician can match it by model/serial.
Step 6: Level the refrigerator to stop leaks and improve closing
A fridge that rocks or leans can:
- Let doors drift open slightly
- Cause vibration noises
- Contribute to water leaks at the front
What to do
- Use a bubble level on a shelf.
- Adjust the front leveling feet until stable.
- Many techs prefer a very slight tilt backward so doors self-close, but do not overdo it.
Step 7: Diagnose frost, ice buildup, and “not cooling” patterns
Frost patterns tell you a lot. The key is to do observation-based checks, not sealed-system work.
If the freezer is packed with frost or the back panel is iced over
This often points to a defrost system or airflow issue.
Safe DIY steps:
- Check the door seal (Step 5).
- Look for blocked vents inside.
- Manual defrost test (short-term diagnostic):
- Move food to coolers.
- Unplug the unit.
- Leave doors open for several hours (towels ready).
- Restart and see if cooling returns for a day or two.
If manual defrost temporarily fixes it but the problem returns, the unit likely has a defrost component issue (heater, thermostat, sensor, control board) that often needs professional diagnosis.
If the fridge is warm but the freezer is cold
Common causes include:
- Blocked fridge vents
- Failed evaporator fan (air is not moving from freezer to fridge)
- Ice blocking airflow
You can often hear an evaporator fan when the compressor is running and the door switch is pressed. If there is no fan sound, that is a strong “call a pro” sign.
If everything is warm and the unit runs constantly
After you clean coils and verify airflow, persistent warm temps can indicate:
- Condenser fan not running (often visible at back/bottom)
- Compressor start issues
- Sealed-system problems
These typically require a technician.
Step 8: Fix water and ice maker issues without creating a flood
Water leaks can come from a few places, and some checks are safe and fast.
Common safe checks
- Water supply valve: confirm it is fully open.
- Kinked water line: especially after moving the fridge.
- Water filter: replace if overdue (clogged filters can reduce flow and cause odd dispenser behavior).
- Drain pan: check for cracks or a pan that is out of place.
If you see water inside the fridge or under crispers
A clogged defrost drain is common. Safe first steps:
- Unplug the refrigerator.
- Inspect for visible ice buildup near the drain area (often behind an interior panel in the freezer section).
If accessing the drain requires removing multiple panels, or you are unsure, it is reasonable to stop and schedule service to prevent damaging brittle plastic parts.
Step 9: Identify normal vs concerning noises
Some noises are normal, especially with modern high-efficiency units.
Often normal
- Gentle humming
- Occasional clicks (relay switching)
- Brief whoosh or airflow sound
More concerning (stop DIY and consider service)
- Loud grinding, squealing, or metal-on-metal sounds
- Repeated rapid clicking while the unit fails to start
- Buzzing followed by shutdown (possible start component or compressor issue)
A safe DIY improvement for vibration noise:
- Ensure the fridge is level and stable.
- Make sure the water line is not rattling against the back.
- Check that items on top are not vibrating.
Step 10: Track temperatures for 24 hours (so you know if you truly fixed it)
After any change (coil cleaning, seal cleaning, reset), measure results.
- Put an appliance thermometer in the fridge and freezer.
- Check after 2 hours, 6 hours, and 24 hours.
A refrigerator can take time to stabilize, especially if it was warm and you added room-temperature food.
When to stop DIY (and why it matters)
Call a professional if you notice any of the following:
- Burning smell, smoke, scorching, or visible electrical damage
- Breaker trips repeatedly when the fridge runs
- No cooling after coil cleaning and airflow checks, and fans or compressor behavior seems abnormal
- Refrigerant/sealed-system suspicion (oil residue, hissing, chronic poor cooling despite everything else)
- Ice buildup keeps returning after a manual defrost test
- Water leak you cannot confidently source (risk of floor damage and mold)
In Phoenix summers, waiting can turn a manageable repair into food loss and more expensive damage. If you need context on typical local pricing, see our guide on refrigerator repair cost in Phoenix. For the bigger repair vs replace decision, this related article is helpful: Is it worth repairing a refrigerator in Phoenix’s heat?.
Symptom-to-action cheat sheet (DIY vs call a pro)
Use this table to quickly match what you see to safe next steps.
| Symptom | Safe DIY steps to try first | Call a pro when… |
|---|---|---|
| Fridge dead (no lights, no display) | Check outlet, breaker/GFCI, cord, settings, 5-minute power reset | Outlet is good but unit stays dead, burning smell, tripping breaker |
| Runs constantly, not cold enough | Clean condenser coils, improve clearance, check door seal, verify temp settings | Temps stay unsafe after 24 hours, fans not running, loud clicking/buzzing |
| Freezer cold, fridge warm | Unblock vents, avoid overpacking, listen for evaporator fan | Evaporator fan silent, recurring ice blocking airflow |
| Frost/ice buildup in freezer | Check gasket, manual defrost test, confirm door closes fully | Frost returns quickly, likely defrost system failure |
| Water on floor near front | Level unit, inspect filter, check water line kinks, check drain pan position | Leak source unclear, water appears near electrical, recurring pooling |
| Loud new noise | Level unit, stop rattles (water line/items), check clearance | Grinding/squealing persists, repeated start clicking, cooling problems |
If you do call for refrigerator repair in Phoenix, make the visit faster
Whether you are booking routine service or looking for emergency help, good information reduces diagnostic time.
Have these ready:
- Model and serial number (usually inside the fridge compartment)
- Your measured temps (fridge and freezer)
- What you already tried (coil cleaning, reset, gasket test)
- Photos of frost patterns or leak areas
That combination helps a technician arrive prepared, especially if you are trying to schedule same-day refrigerator repair during peak heat.
Bottom line
Most safe DIY refrigerator repair steps fall into three buckets: power/settings, airflow and coil cleaning, and door sealing and leveling. If those do not restore safe temperatures, or if you see electrical danger signs, it is time to stop and get professional diagnosis. In Phoenix’s climate, quick action protects both your food and your appliance.