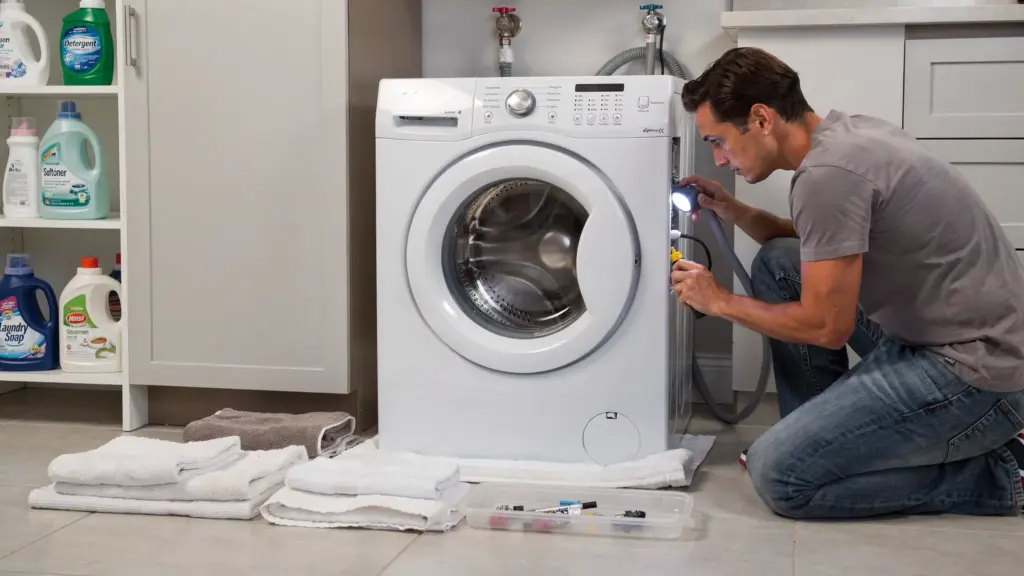
A washer that’s leaking or refusing to spin can go from “minor annoyance” to “floor damage and ruined laundry” fast. The good news is that many causes are predictable, and you can often narrow them down in 10 to 20 minutes with a methodical approach.
This washer repair checklist focuses on two high-impact symptoms:
- Leaks (where the water is coming from, and when it happens)
- No spin (whether the washer cannot spin, cannot drain, or is being prevented from spinning)
If at any point you see water near a power cord, outlet, or control board, stop and follow the safety section first.
Safety first (do this before troubleshooting)
Unplug the washer. If you cannot safely reach the plug, switch off the laundry circuit at your breaker.
Turn off both water supply valves (hot and cold) at the wall.
Protect your floor.
- Put towels down.
- Use a shallow pan or tray if you suspect a slow drip.
- Do not run a “test cycle” if water is actively pooling under the machine. Diagnose the source first.
For general electrical safety around water and appliances, the U.S. Consumer Product Safety Commission (CPSC) is a solid reference.
Step 1: Identify the leak pattern (location + timing)
Before opening anything, answer two questions:
- Where do you see water first? Front, back, left, right, or under the center.
- When does it leak? Only while filling, during agitation, during drain/spin, or after the cycle.
That pattern points you toward the most likely parts.
| Leak timing and location | Most likely causes | Best first check |
|---|---|---|
| Leaks only while filling (often at the back) | Supply hoses, loose fittings, inlet valve seepage | Inspect hoses and connections, look for drips while filling |
| Leaks during wash/agitation (front on front-loaders) | Door boot (gasket) tear, detergent oversudsing | Inspect boot folds for holes, reduce detergent |
| Leaks during drain/spin (often under machine) | Drain pump, pump filter cap, drain hose crack | Check pump/filter area and drain hose |
| Water appears after cycle ends | Slow seep from hoses/valves, standpipe overflow | Check for wet hose fittings, watch standpipe during drain |
| Water on wall or running down the drain standpipe area | Standpipe overflow, slow drain, partial clog | Confirm standpipe height and drain flow |
Phoenix note: garages and laundry rooms can get hot and very dry. Rubber hoses can stiffen and crack faster, and hard-water mineral buildup can contribute to slow drips at fittings.

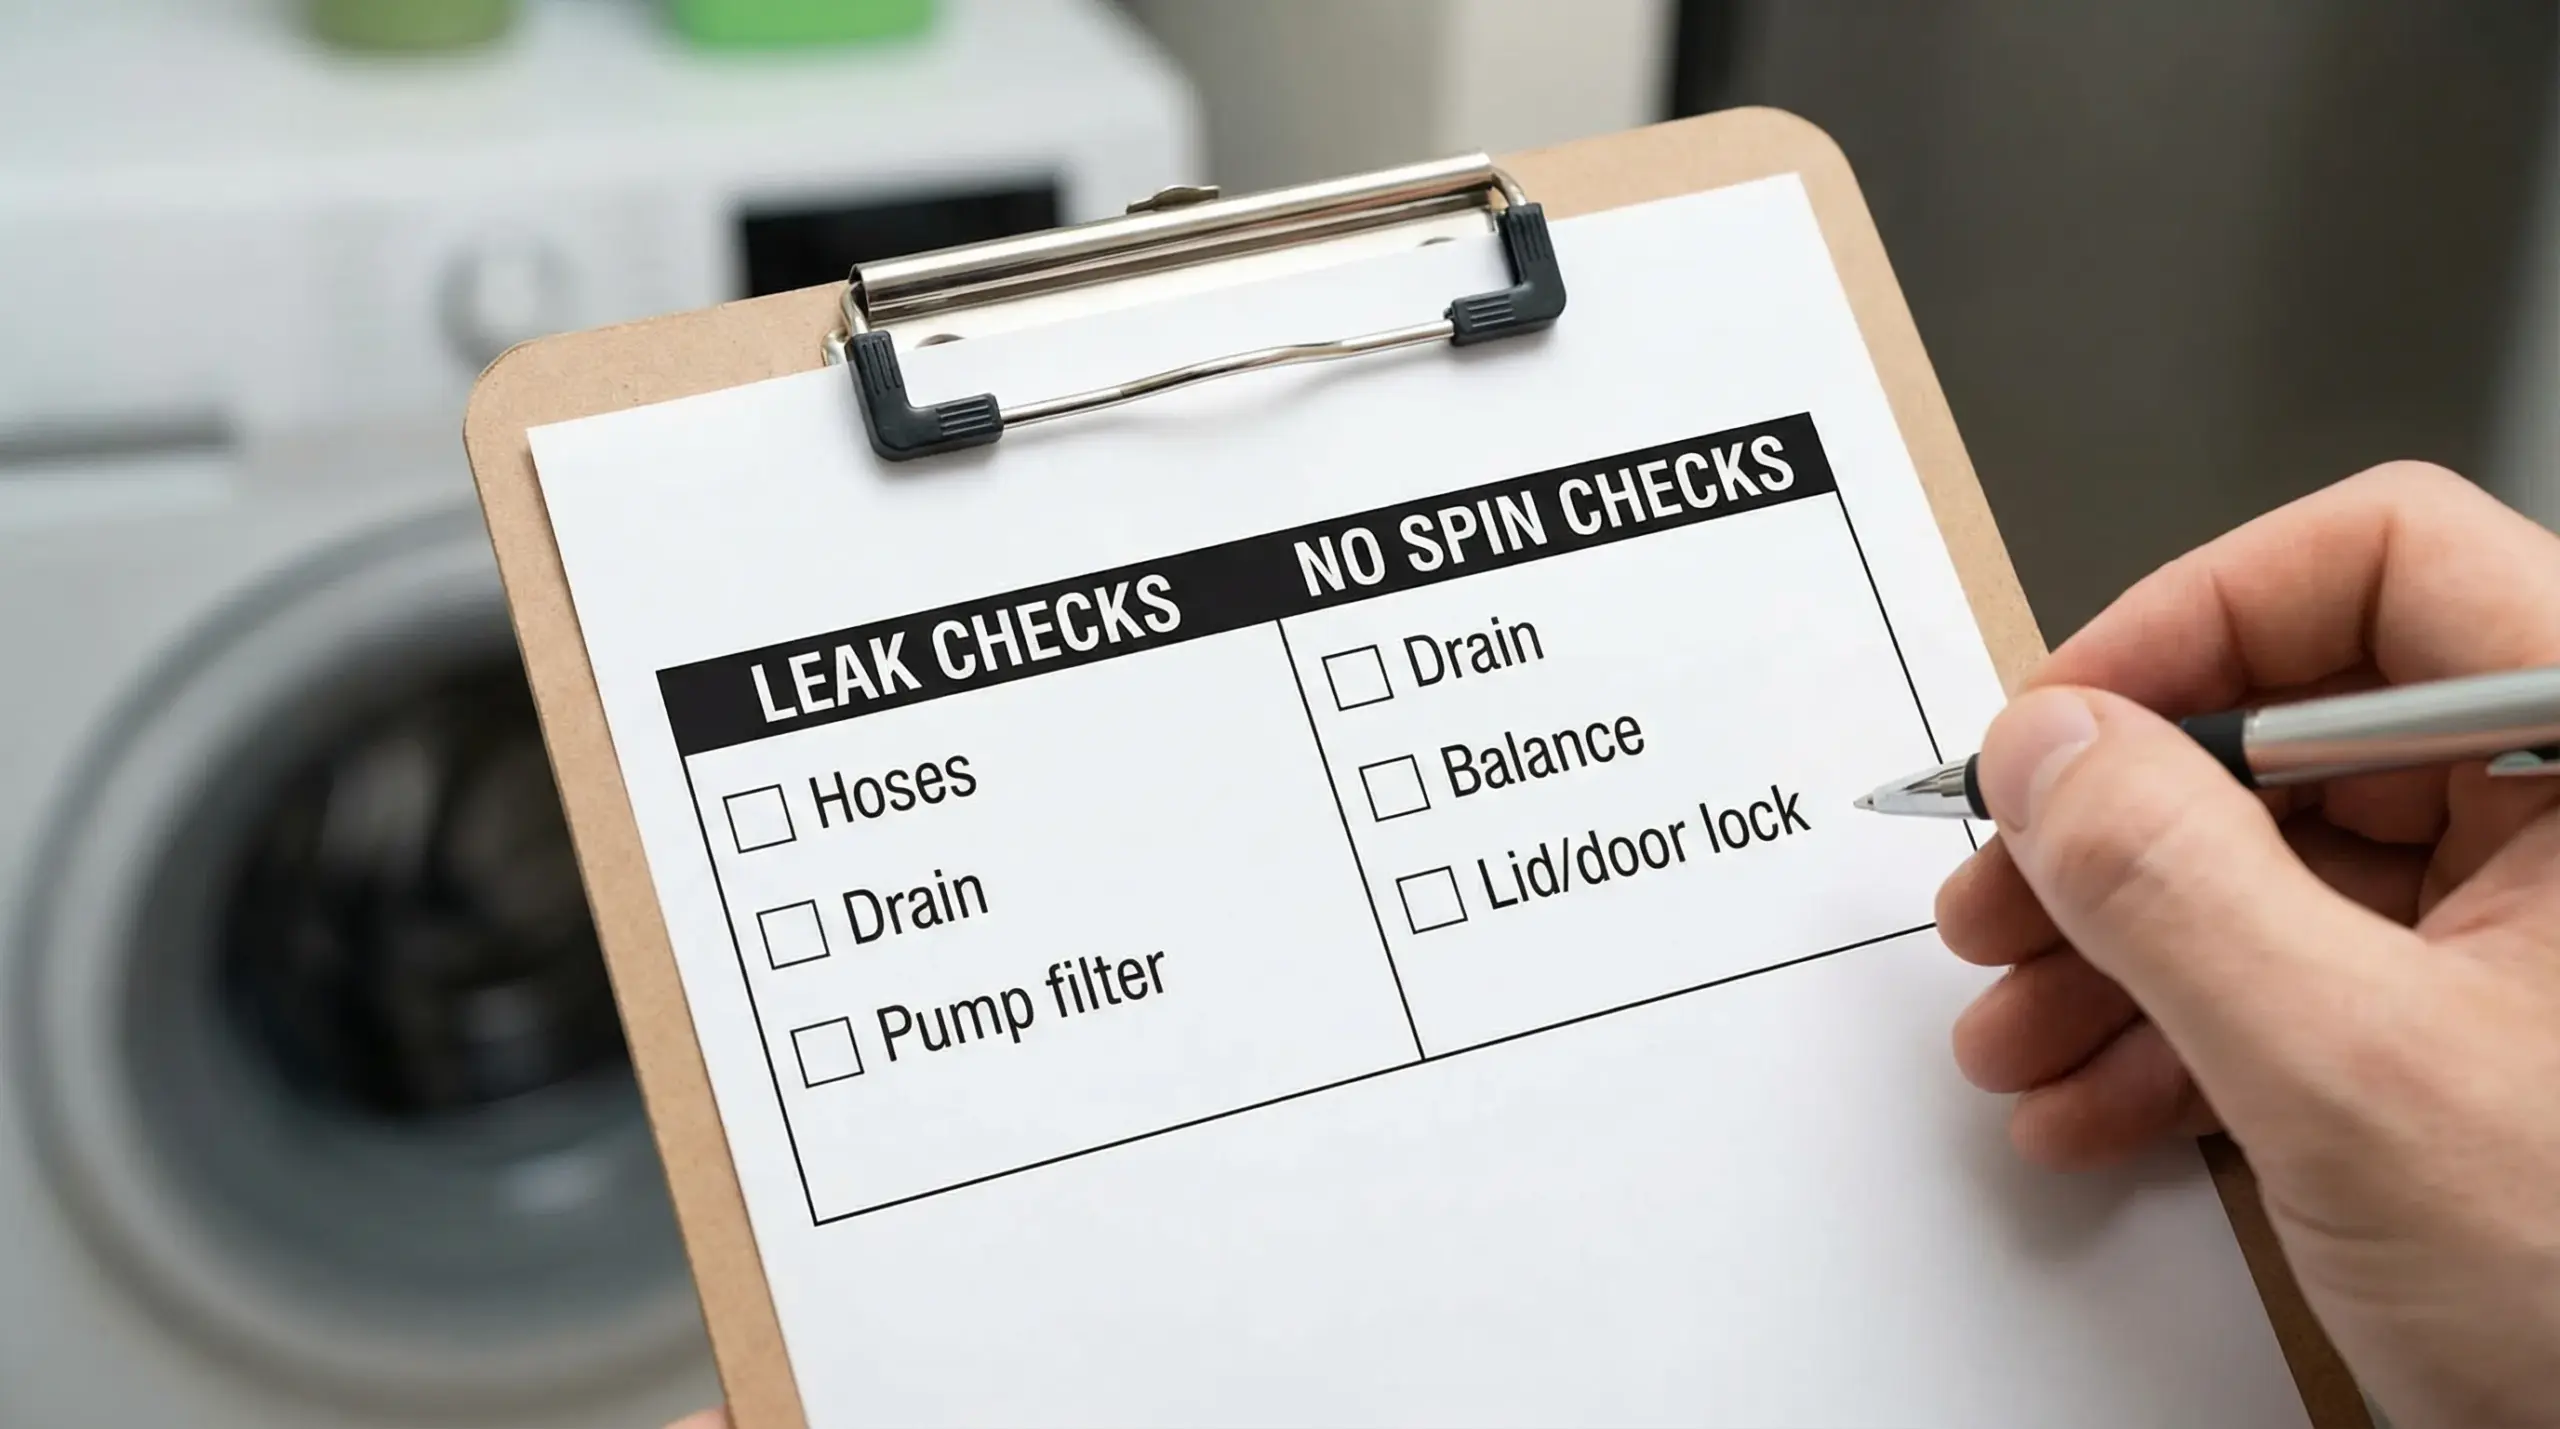
Leak checklist (start with the easiest, most common causes)
1) Check oversudsing (especially on front-loaders and HE models)
Too much detergent, or non-HE detergent in an HE washer, can create excessive suds that push water past seals or out of the dispenser path.
Quick indicators:
- The door glass is packed with foam.
- The washer seems to “leak” intermittently, not like a steady drip.
What to do:
- Run a rinse and spin cycle (once you’ve confirmed the leak is not electrical or a major hose failure).
- Reduce detergent amount (many loads need less than the cap suggests).
2) Inspect the supply hoses and fittings (fastest win)
Pull the washer forward carefully and look at:
- The hot and cold hoses at the wall valves
- The hose connections at the washer inlet
- The hose bodies (bulges, cracks, fraying)
What to do:
- Tighten connections by hand first, then snug gently with pliers if needed (do not over-tighten).
- If hoses are older rubber style, consider upgrading to braided stainless steel hoses.
Red flags that mean “replace, don’t tighten”:
- A hose is swollen or blistered
- The fitting is corroded or seeping through the crimp
- You see cracking near bends
3) Watch the drain hose and standpipe during pump-out
Sometimes the washer is fine, but the home drain cannot keep up.
Common signs of standpipe overflow:
- Water appears near the wall, not under the center of the washer
- It happens specifically when the washer drains (often right before spin)
What to do:
- Verify the drain hose is not shoved too far down the standpipe.
- Check that the standpipe height is appropriate for your washer model (consult your manual).
- If your drain is slow, you may need a plumbing fix rather than a washer part.
4) Check the detergent drawer and dispenser path
If water runs down the front or left side during filling, the dispenser can be the culprit.
What to do:
- Remove and rinse the drawer.
- Clean any gunk where the drawer seats.
- Make sure the washer is level. If the washer leans forward, water can spill from the dispenser channel.
5) Front-load door boot (gasket) inspection
Open the door and carefully inspect the rubber boot.
Look for:
- Small tears at the bottom where coins and metal pieces collect
- A missing clamp or a boot that has slipped off its lip
- Heavy buildup or trapped debris in the folds
What to do:
- Clean out debris.
- If torn, the boot usually needs replacement (this can be DIY for some models, but it is fiddly and time-consuming).
6) Drain pump and pump filter area (common source of “mystery leaks”)
Many front-loaders (and some top-loaders) have a pump filter access panel.
What to do:
- Place towels and a shallow pan.
- Open the access panel.
- Slowly loosen the filter cap to drain residual water.
Findings and meaning:
- Cap not fully seated or damaged O-ring: can cause slow leaks, especially during drain.
- Cracked filter housing or pump body: typically needs part replacement.
7) Tub seal, bearings, or internal leaks (when it’s likely not a quick fix)
If water appears under the center, especially with noise during spin (roaring, grinding), the issue may be deeper.
Common clues:
- Brownish streaks or oily residue under the washer (possible bearing/seal problem)
- Leaks increase with faster spin
These repairs often require major disassembly. At this stage, it’s usually time to consider Phoenix appliance repair services if you want a reliable fix without creating a bigger leak.
No spin checklist (separate “won’t spin” from “won’t drain”)
A washer that “won’t spin” often has one of these realities:
- It cannot drain, so it refuses to spin for safety.
- It is unbalanced, so it stops or never ramps up.
- A door lock or lid switch is not confirming closure.
- A drive system or motor control issue is preventing spin.
Use this table to narrow it down quickly.
| What you observe | What it usually means | First checks |
|---|---|---|
| Tub full of water, no spin | Drain problem (pump, filter, hose, clog) | Check pump filter, listen for pump, inspect drain hose |
| Drains water but drum barely moves or won’t reach high speed | Drive problem or control issue | Check for error codes, belt/coupler signs, unusual noises |
| Starts to spin then stops and redistributes repeatedly | Out of balance, leveling, suspension | Rebalance load, check leveling, inspect suspension rods/struts |
| Won’t spin and door/lid feels “normal” | Door lock/lid switch not engaging | Verify latch alignment, inspect strike, test with gentle close |
1) Confirm it is actually draining
Open the door only when safe and allowed by your model. If the tub is full, focus on draining first.
What to check:
- Pump filter (if accessible): socks, coins, hairpins, lint can block flow.
- Drain hose: kinks behind the washer are common.
- Standpipe or laundry sink: if it’s backing up, the washer may be fine.
If your washer is a Samsung and you suspect fill or inlet issues along with cycle problems, you may also want this targeted guide: Samsung washer 4C error water inlet troubleshooting.
2) Check for a load imbalance (and do a quick re-test)
Modern washers will stop spin to prevent damage if the load is off-balance.
Try this:
- Pause the cycle.
- Redistribute items evenly.
- Remove heavy items (single bath mat, blanket) and run them alone or with similar-weight items.
Also check leveling:
- If the washer rocks when you push on corners, level the feet.
3) Door lock or lid switch (very common, often overlooked)
If the washer thinks the door is open, it will not spin.
What to look for:
- A door that does not “click” into the latch consistently
- A loose strike (the plastic tab that enters the latch)
- Error codes related to door/lock (model-specific)
Some latch issues are as simple as alignment, but replacing a lock assembly can vary by model.
4) Listen for clues during spin attempt
Sounds help you triage:
- Humming but no movement: something may be stuck in the pump, or the motor is trying but cannot turn.
- Loud grinding or roaring: possible bearing or mechanical failure.
- Repeated start-stop with thumps: suspension or balance issue.
If the washer is making loud mechanical noises, stop the cycle to avoid further damage.
5) Belt, coupler, clutch, or motor issues (model-dependent)
Different washer types fail differently:
- Many top-loaders use a motor coupler or clutch system.
- Many front-loaders use a drive belt.
Basic DIY-friendly checks (only if you’re comfortable and the washer is unplugged):
- Look for a belt that is shredded, glazed, or off the pulley.
- Look under/behind for black rubber dust (belt wear).
If you find obvious belt damage, replacement is sometimes straightforward, but access can be tight. If you are unsure, a technician diagnosis can save time and prevent ordering the wrong part.
6) Control board or sensor problems (when everything mechanical seems fine)
If the washer drains, the door locks, the drum turns freely by hand, and it still will not spin, the cause may be electrical (control board, motor control, speed sensor).
At this point, DIY becomes less predictable because proper diagnosis often requires a meter and model-specific procedures.
Quick “before you call” checklist (high value, low risk)
- Unplug washer for 2 minutes, then plug back in (simple reset for some models).
- Confirm the washer is level and not rocking.
- Check and clean the pump filter (if your model has one).
- Inspect hoses and tighten fittings.
- Reduce detergent if suds are excessive.
- Run a short rinse and spin test only after confirming it is safe (no active floor pooling).
When to call a pro in Phoenix (and when it’s urgent)
Consider professional help if:
- Water is leaking near electrical components or the outlet.
- You suspect a tub seal, bearing, or internal tub crack.
- The washer will not drain after cleaning the filter and checking the hose.
- The washer shows repeated error codes after basic troubleshooting.
If you have active leaking that could damage flooring, that can justify emergency appliance repair in Phoenix, especially in multi-story homes or condos where leaks can spread quickly.
For local help and more troubleshooting resources, start here: appliance repair Phoenix.
Prevention tips that matter in Phoenix homes
- Replace aging rubber hoses with braided stainless steel hoses, especially if your laundry area gets hot.
- Clean inlet screens periodically if you have hard water (mineral buildup can reduce flow and stress valves).
- Leave the door ajar on front-loaders between loads to reduce odors and gasket grime.
- Use the right detergent and amount for HE machines to prevent oversudsing and residue.
Frequently Asked Questions
Why is my washer leaking only during the spin cycle? Leaks during spin often point to the drain system (pump, filter, drain hose) or an internal seal that leaks more when the tub is moving fast. Start by checking the pump filter and drain hose for cracks or loose connections.
If my washer won’t spin, does that mean the motor is bad? Not necessarily. Many washers will not spin if they cannot drain, detect an unbalanced load, or do not sense the lid or door is locked. Check drain, balance, and latch issues first.
Can too much detergent cause a washer to leak? Yes. Oversudsing can push water out of places it normally would not escape, especially in front-loaders and HE washers. If you see lots of foam, use less detergent and run a rinse cycle.
What’s the most common cause of a washer leak at the back? Loose or worn supply hoses and fittings are common. Inspect for drips during filling, and replace hoses that are cracked, bulging, or older rubber style.
Is it safe to keep using a washer that leaks a little? It is risky. Small leaks can become big leaks, damage flooring, and create electrical hazards. Shut off power and water, identify the source, and repair before regular use.
Get a clear diagnosis fast (without guesswork)
If you’ve gone through the checklist and still can’t pinpoint the leak or no-spin cause, it may be time for a technician diagnosis, especially for internal seals, bearings, pumps, and electrical controls. Explore local options and next-step guidance here: Phoenix appliance repair services.